CB500 Strip down - Part 3
You would think we would be ready to get the engine out but no.. there is actually quite alot still to do. We have switchgear, footpegs, expansion tanks and starter motors before we can even think about the engine. the loom is also still hanging around so we best tackle that too.
The bikes nervous system
The loom is mostly detached, so let's get the rest done. First thing to tackle is the spring connected to the brake lever.
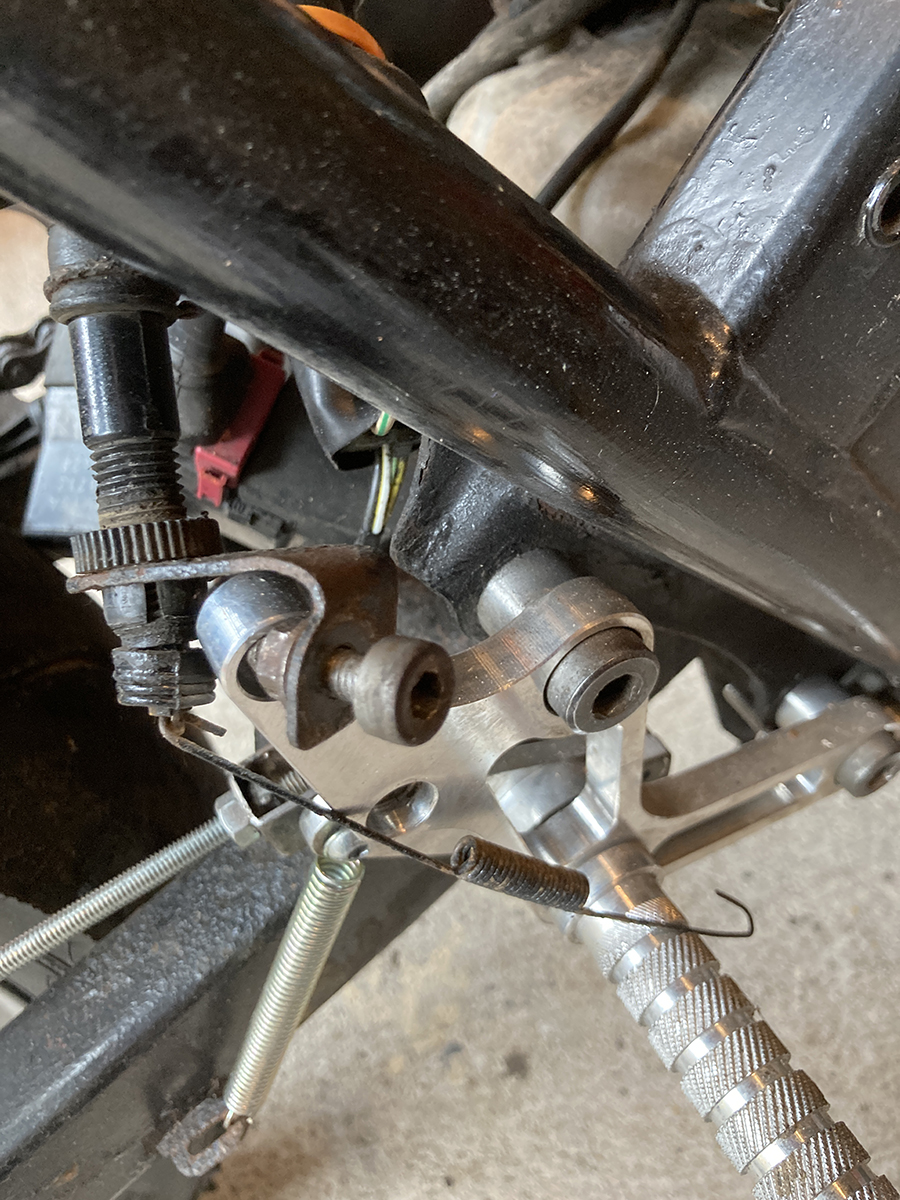
Next - there are a few connectors to undo - nearly all of them have unique connector plugs - but label them all the same!! THe loom is also connected to the starter motor house right at the bottom of the chassis.
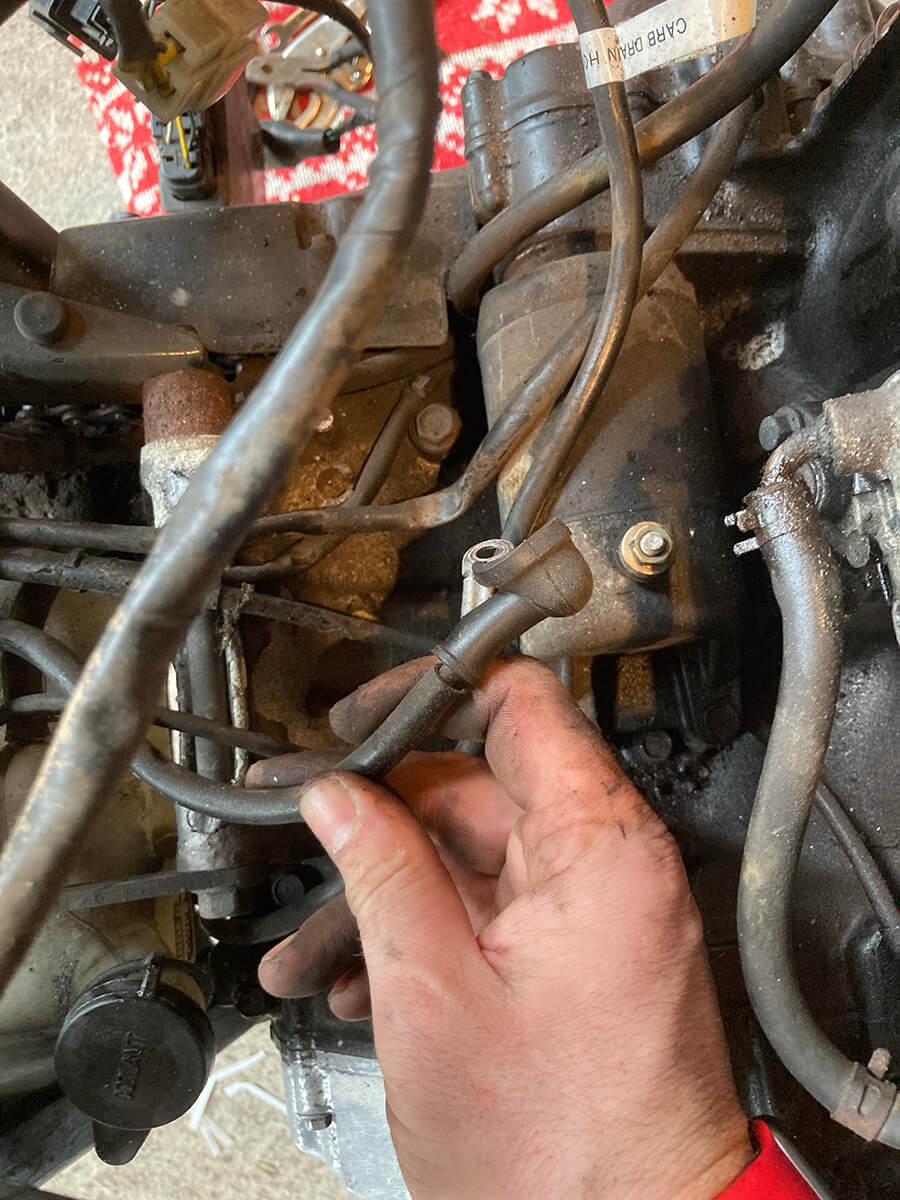
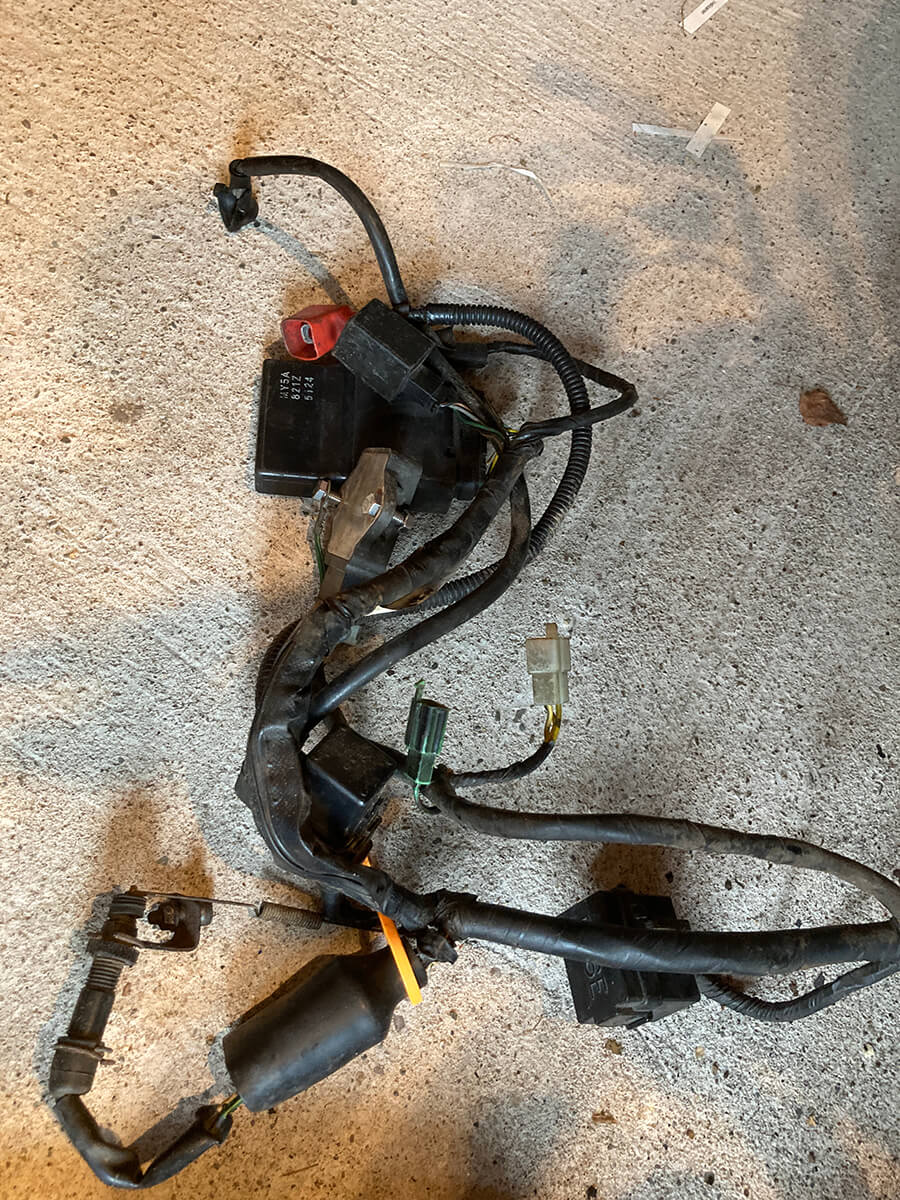
You should be able to thread out the loom and all the connected parts such as the ECU, fuse box and regulator. As with everything pay attention to how the loom is fitted so you can put it back together afterwards!
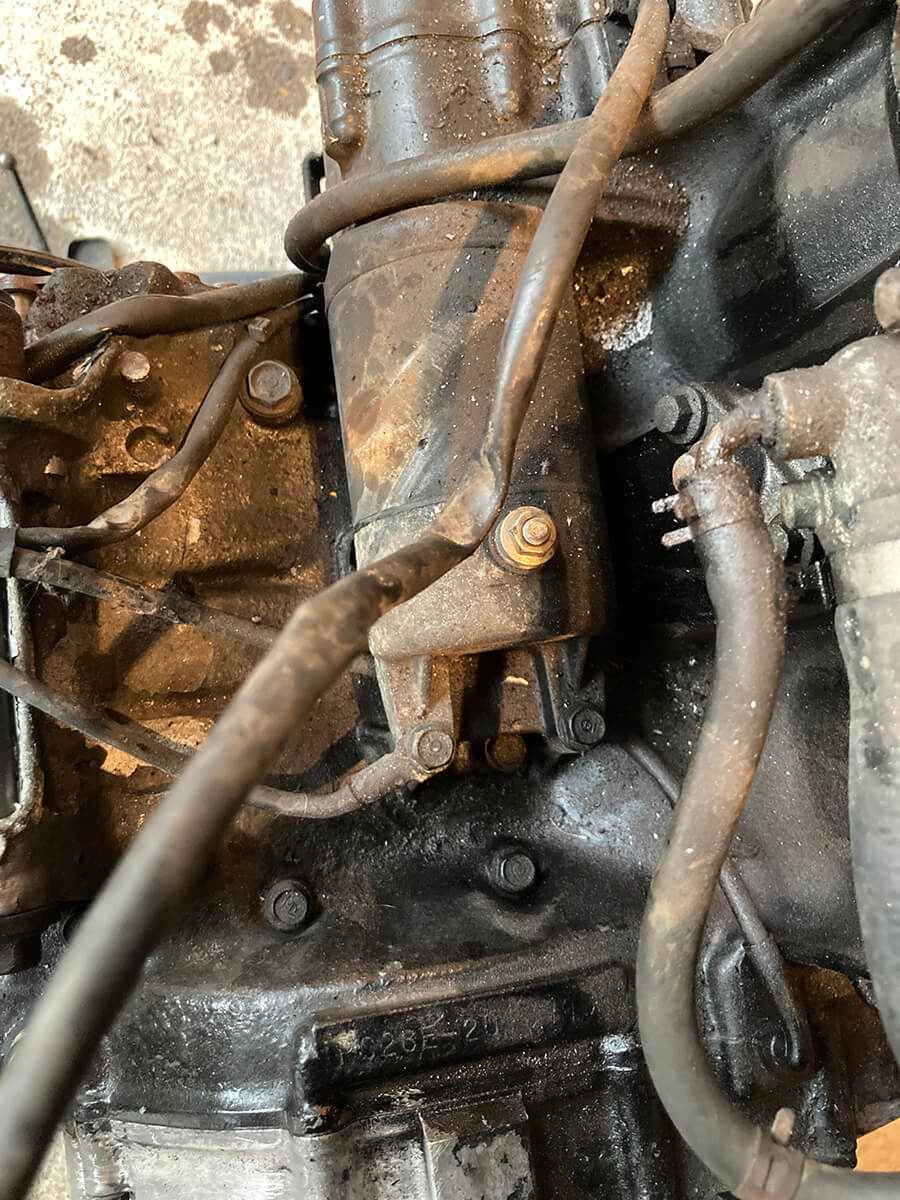
The starter motor is connected by 2 bolts and then just pulls out. Note is has an o ring that must be replaced if you remove it. Another item for the parts list.
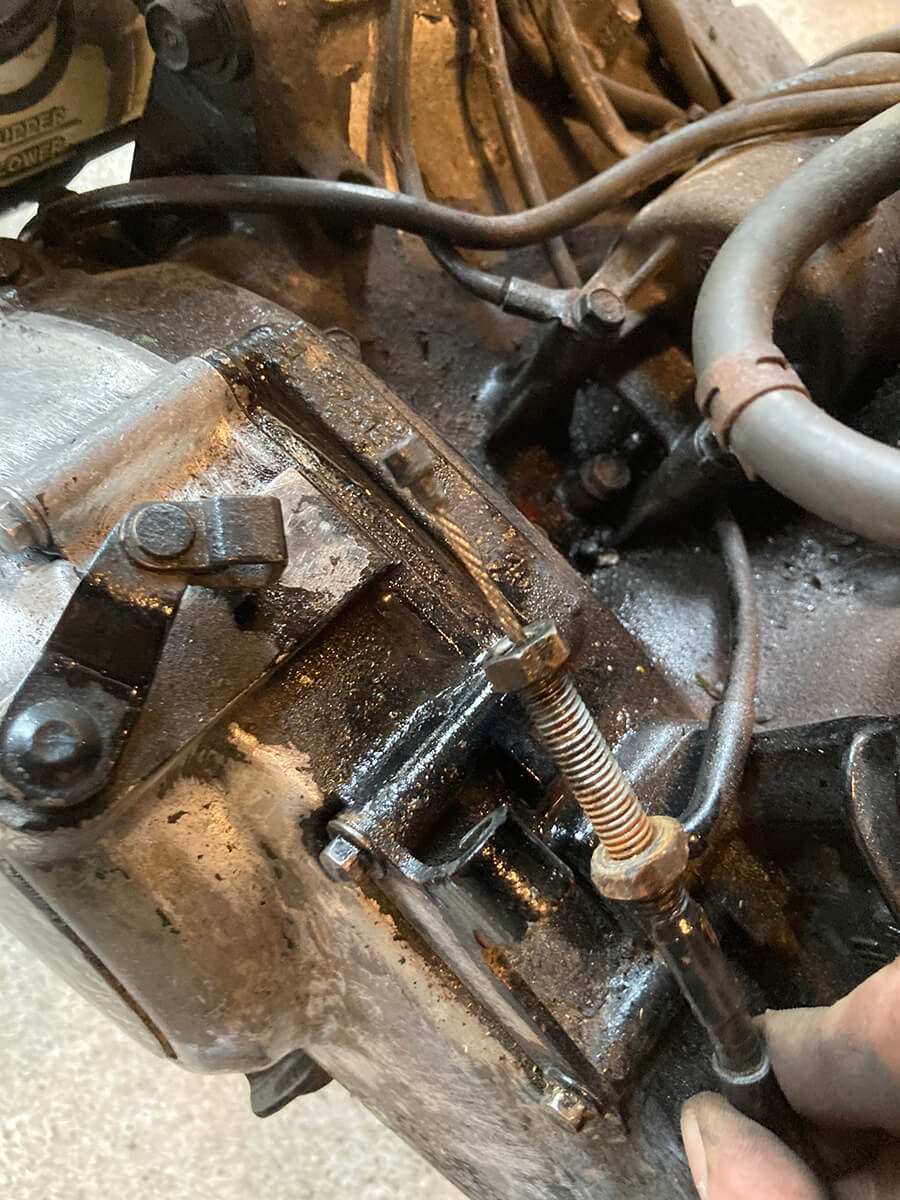
To continue with disconnecting things let's take the clutch cable off as it is one of the last things connecting the engine.
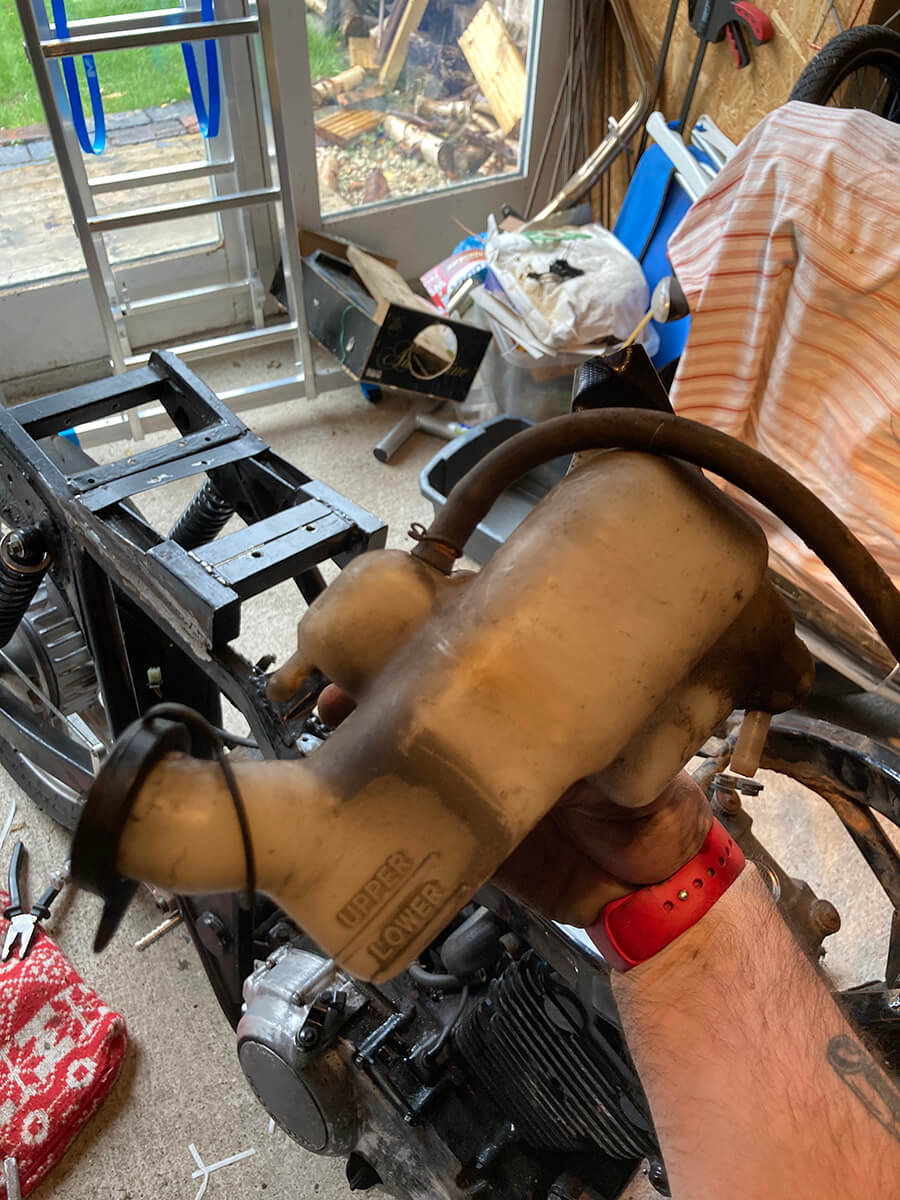
The radiator expansion tank looks like a water resevoir on a car. There is a bolt holding it in place and a drain hose to take out with it too.
Chains - and a lesson in life
From pawing over YouTube and similar I had seen one video where the chap didn't loosen the front sproecket until the engine was out - he then had difficulty getting it off. We don't want to make the same mistakes so let;s hit that!
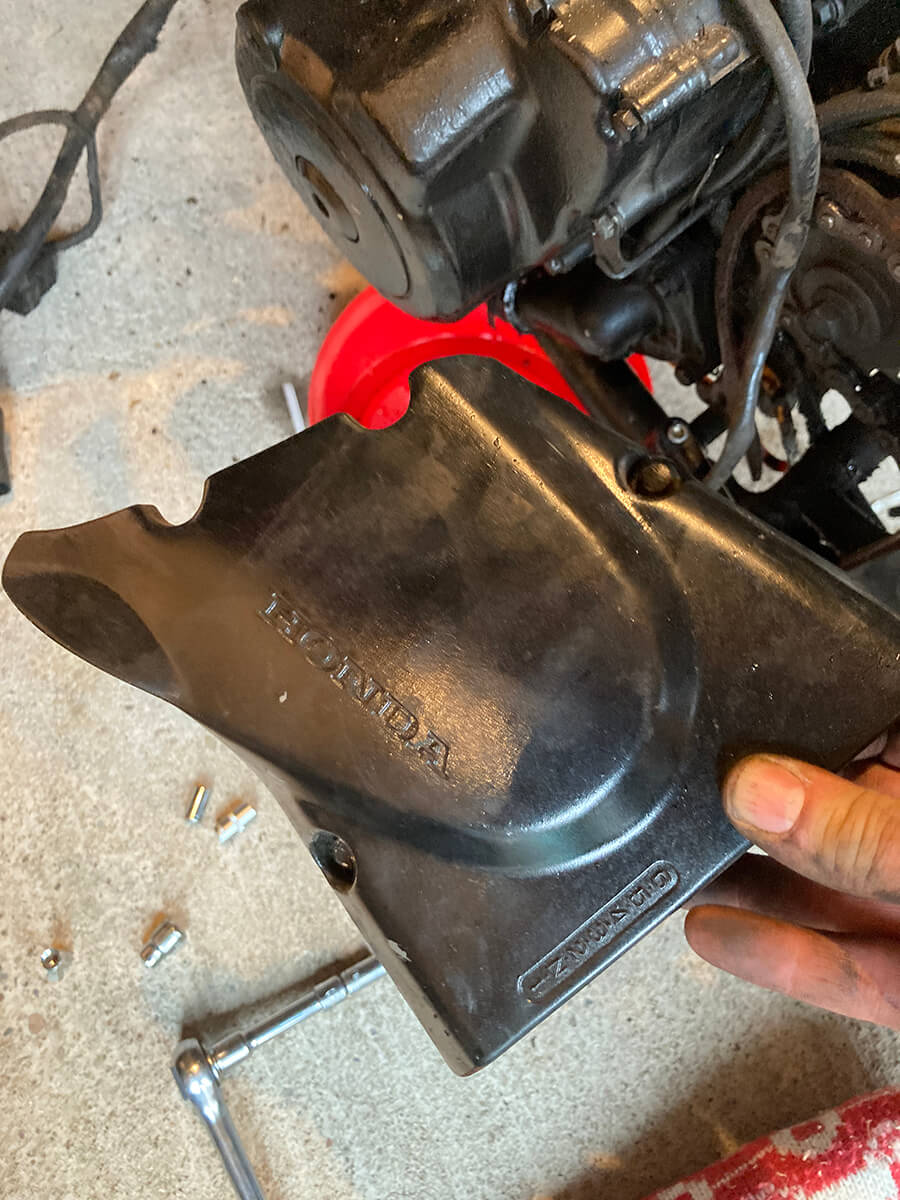
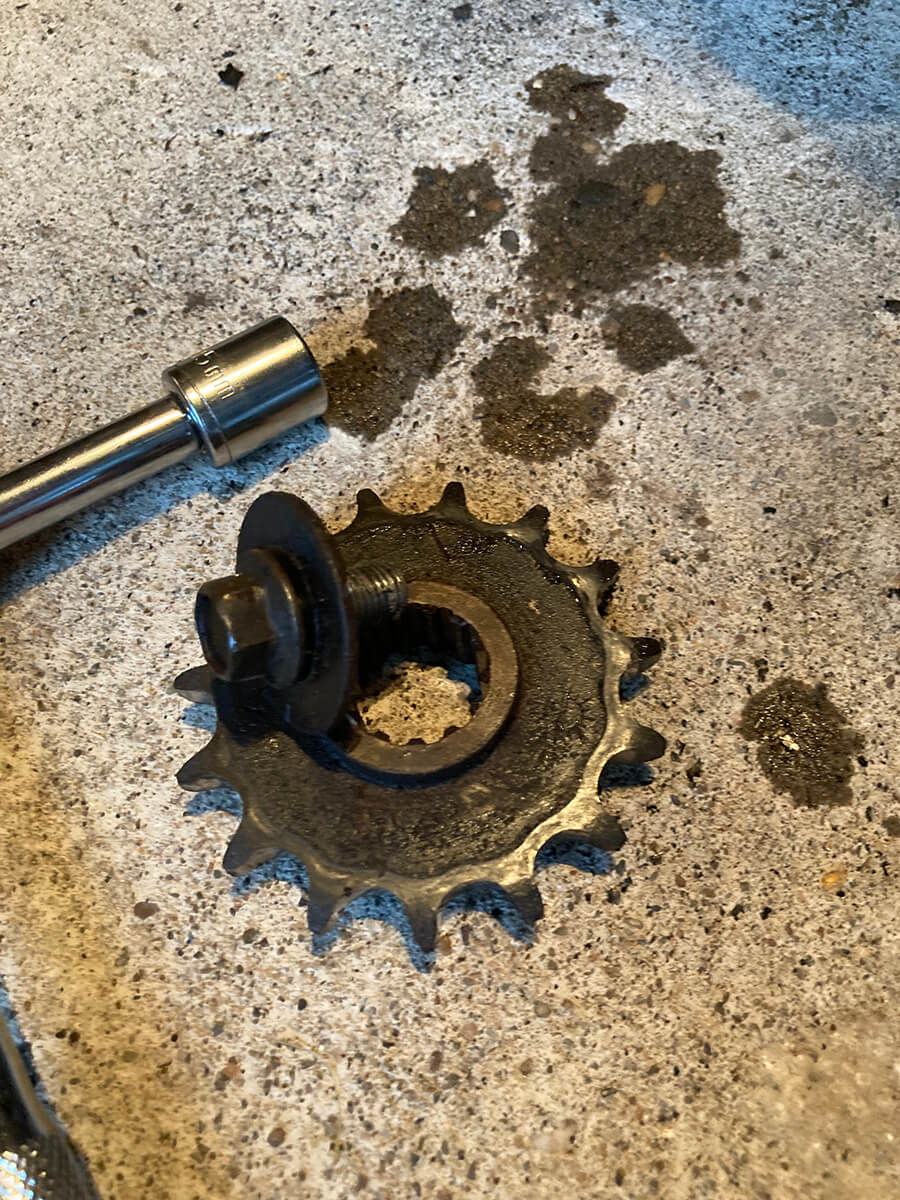
First remove the sprocket cover - I then got to marvel at 26 years of skank and oil collected there. I also noted something fall out which I wrote down as "sprocket thing" :) I aassume it is to protect the engine in the event of a chain snapping?
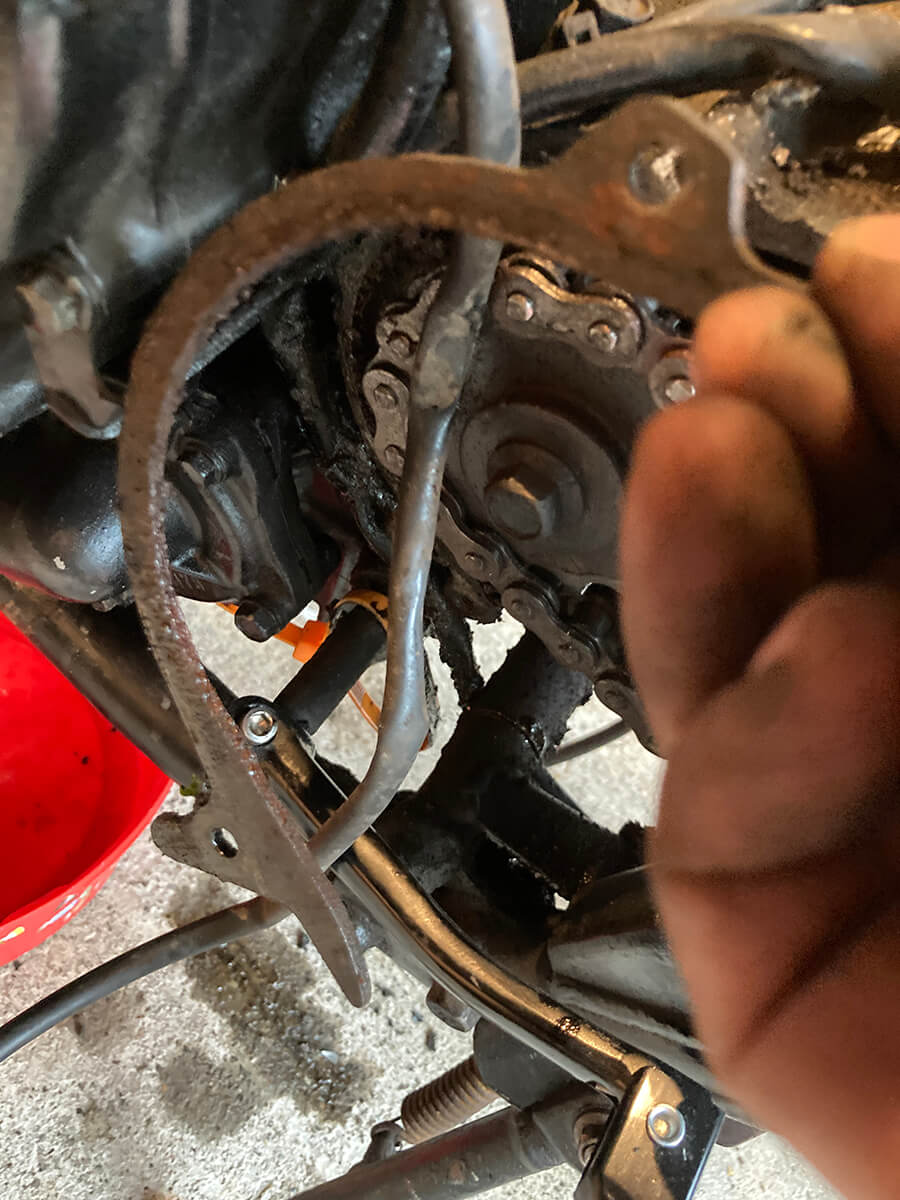
Mistake 1 - I went on to remove the rear brake lever and pegs before trying to loosen the sprocket. You need to have the back brake on to stop the bike moving forward so I had to jame the bike against the shed to mamage it.
This is out of order to make it correct loosen that badboy whilst you still have the means too... not later on.
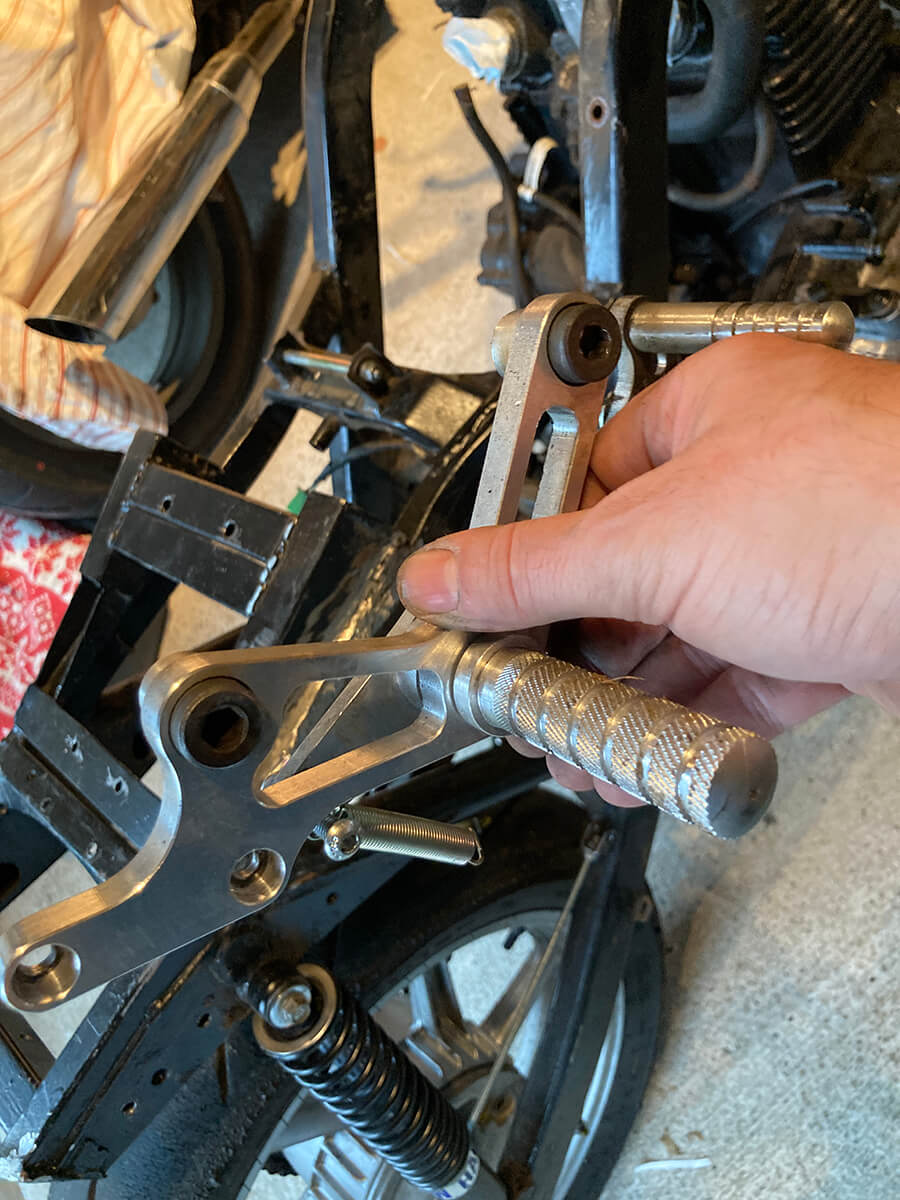
So easy bits now, remove the footpegs and on my drum model the braking arm.
The bare bones
We are now down to a rolling chassis and engine.. as I do not have a jack or engine crane I decided to ponder how I would even approach the next steps so the wheel and handlebars stay on for now.
I turned my attention to the frame - on a CB500 the left had side has a portion held on by 4 bolts - in my case 3 bolts and an absolute nightmare rusty bolt!
2 days of penetrating oil and then heat ensued and with some "gentle" read brutal persuasion I managed to get it off intact. Winning!

The cables were all still attached to the handlebars - for storage (and less to have to remember) I decided to leave it all intact so I could hang the handlebars and cabling out of the way.
I may rearrange later but for now it means a load less things to hold in memory, especially as it could be a while before they go back on.
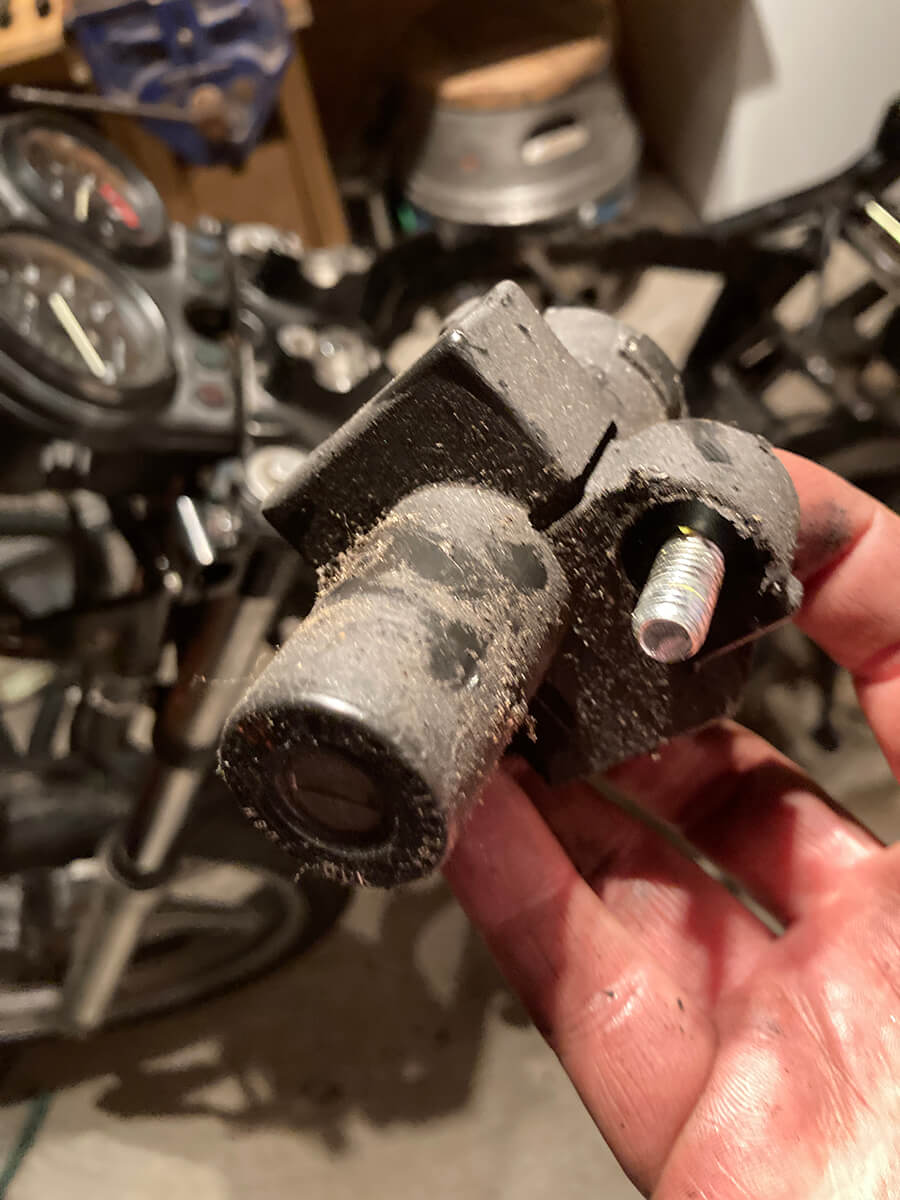
Onto the front of the bike and with a few bolts I had the speedo off - except it wasn't the bolts for the speedo it was the bolts for the ignition barrel :)
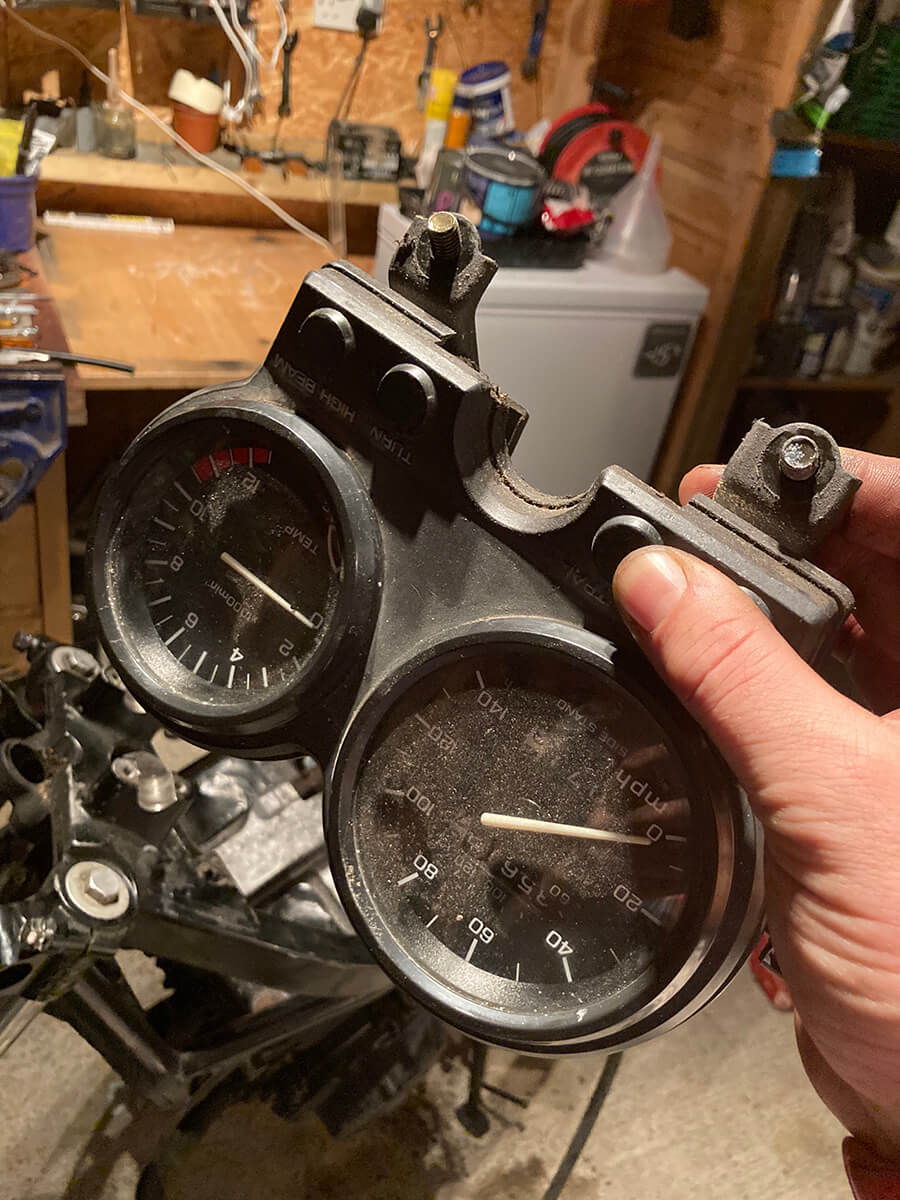
No bother, another 2 bolts and the speedo was off also.
Next time... the final chapter and the engine is out!...