CB500 Strip down - Part 4
Finally after 2 or 3 days we are ready to start the process of removing the engine.
If you don't have the tools think laterally... or vertically.
I don't have a jack, engine crane or any other good stuff and so had to ponder long and hard about how I would tackle the engine. It is a heavy lump but is manageable by one person luckily.
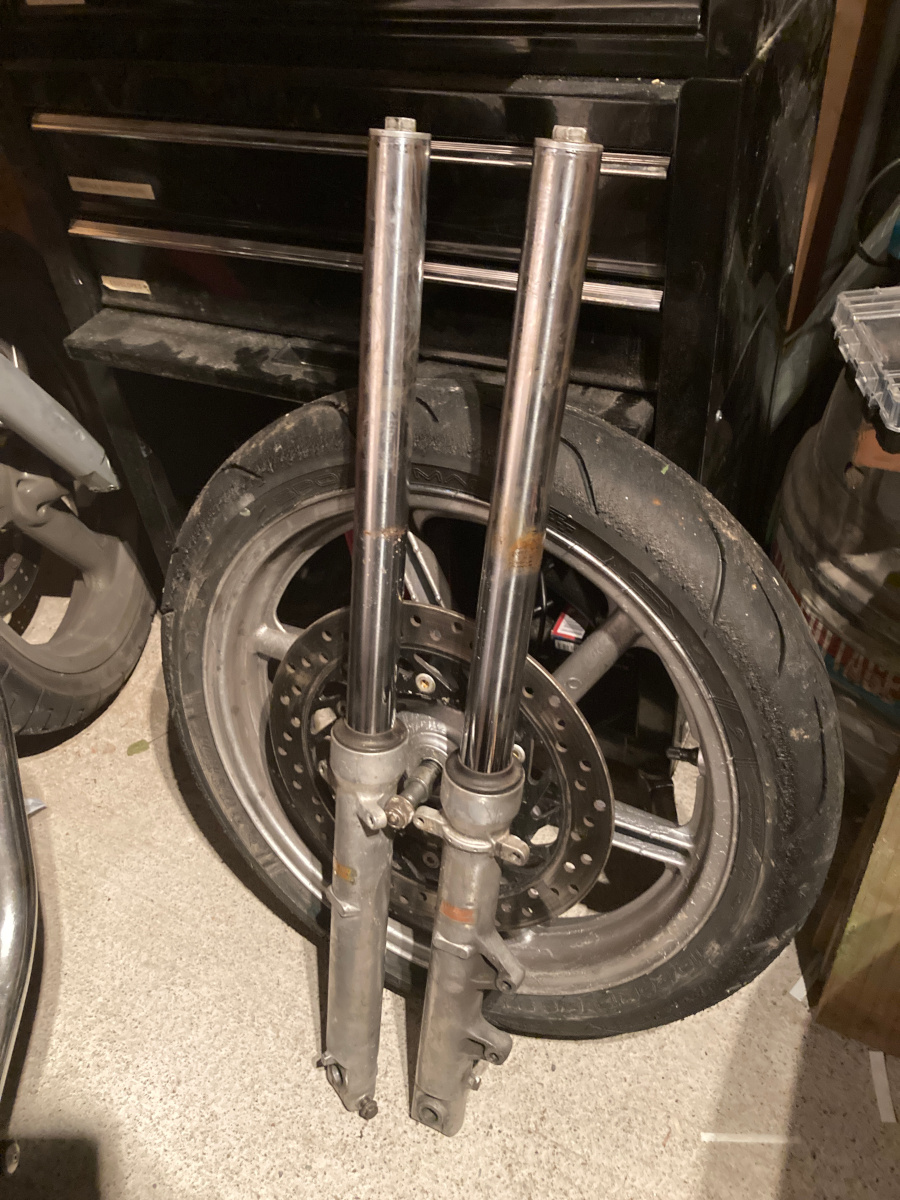
So - I started by loosening the remaining bolts which were the front forks (2 bolts upper yoke and 2 lower) the front and back wheels and the engine bolts.
The bike was up on axel stands but removing the wheels would change the balance of the frame so it was time to suspend the bike. I have decent roof beams in the shed so used my trusty ratchet strap, sliding it inside the frame and under the sump of the engine. The engine ios really well balanced so just the one strap was enough to take the straing of the frame and engine.
I removed the front forks and wheel and then the rear wheel. The rear swingarm and shocks could wait until the engine was out.
No going back
With the last remaining parts off the frame I turned my attention to the engine mounting bolts and for a moment worried I might have left myself with a problem if they were stuck!
To my great relief 2 of the 3 bolts literally pulled out by hand with no pursuasion - maybe the daily WD40 spraying leading up to this moment had paid off.
There is always one.,.
Annoyingly the front engine mount rod is stuck fast - but as the bolts came of easily I realised I could get the engine off leaving this one in place. Having seen many broken mounted engines on eBay I am going to leave well alone.
HEAVE!
No going back now, but how to do this? I found my trust art box from college - a plastic tool box but one that can take the weight of you standing on it and managed to raise the engine and slide the toolbox underneath. I tried to gently ease off the ratchet straps which is easier said and done and with a bang the engine was sitting on the box.
Now it was just about taking the frame off the engine. I thought this would be really easy but the frame is heavier than it looks so it was quite an effort especially because of the front mounting bolt.
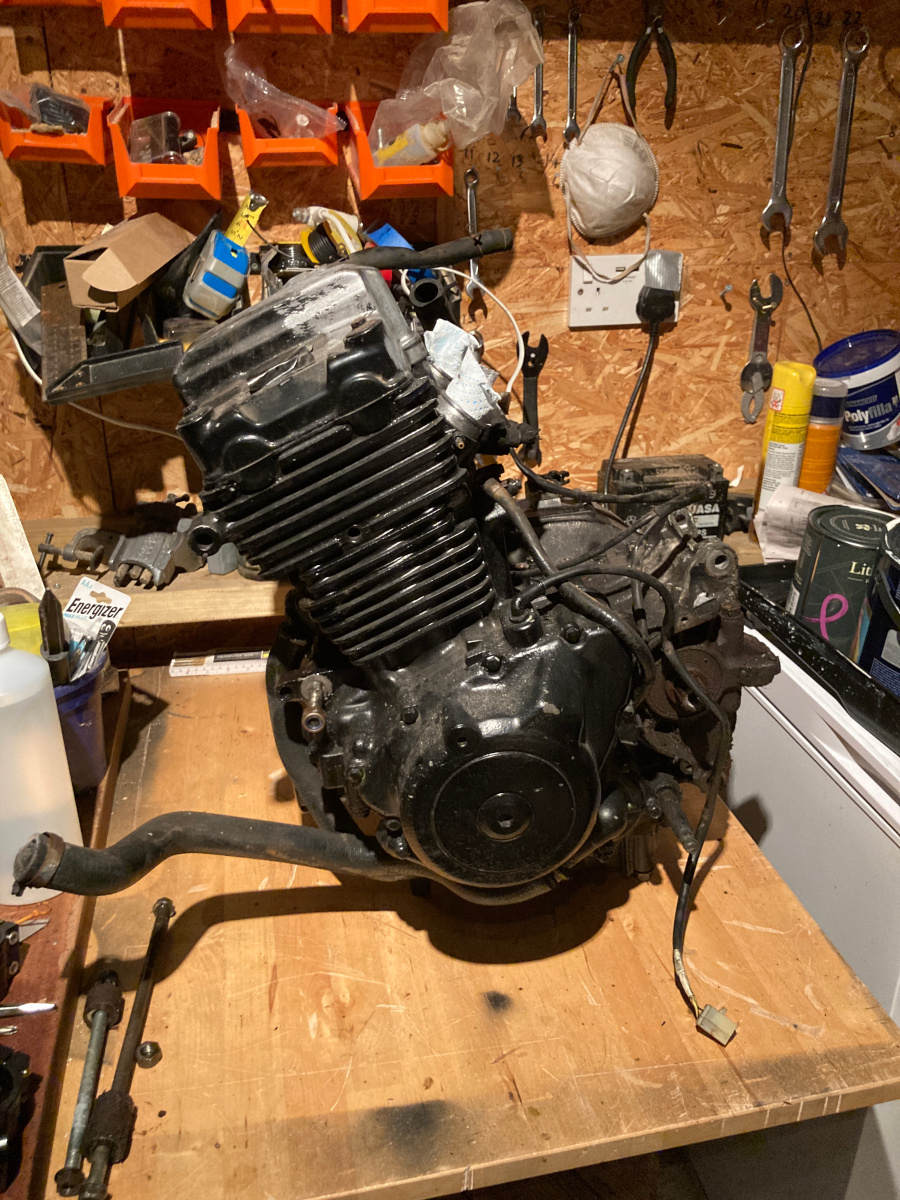
And there we have it
Lifting the engine onto the workbench was possibly the easiest part of the whole thing and with that the bike is in pieces ready for the return journey once it is all cleaned up and painted.
The only things remaining were the Hagon shocks and the bolt holdiong the swing arm on, in a flash we just have a frame.
Next time... time to start cleaning, prepping and then rebuilding...