CB500 Strip down - Part 2
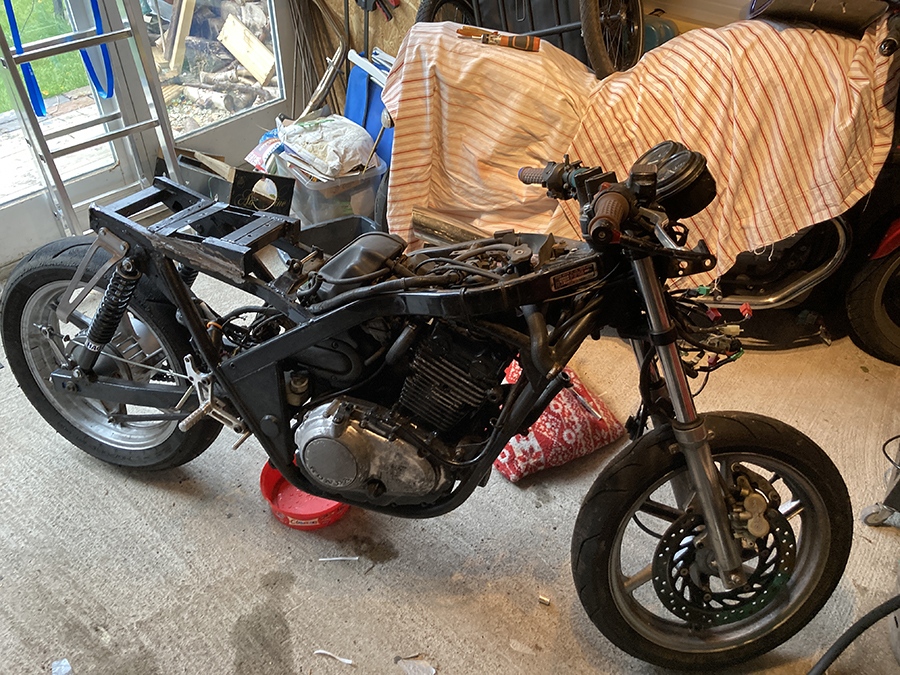
This part of the breakdown was one of the things I had not been looking forward to doing! From reading various posts on the Facebook group about removing carbs I already had a fair idea that a) they can be a bit of a shag, and b) you need to take out the air box sort of at the same time.
Let's get to the good stuff!
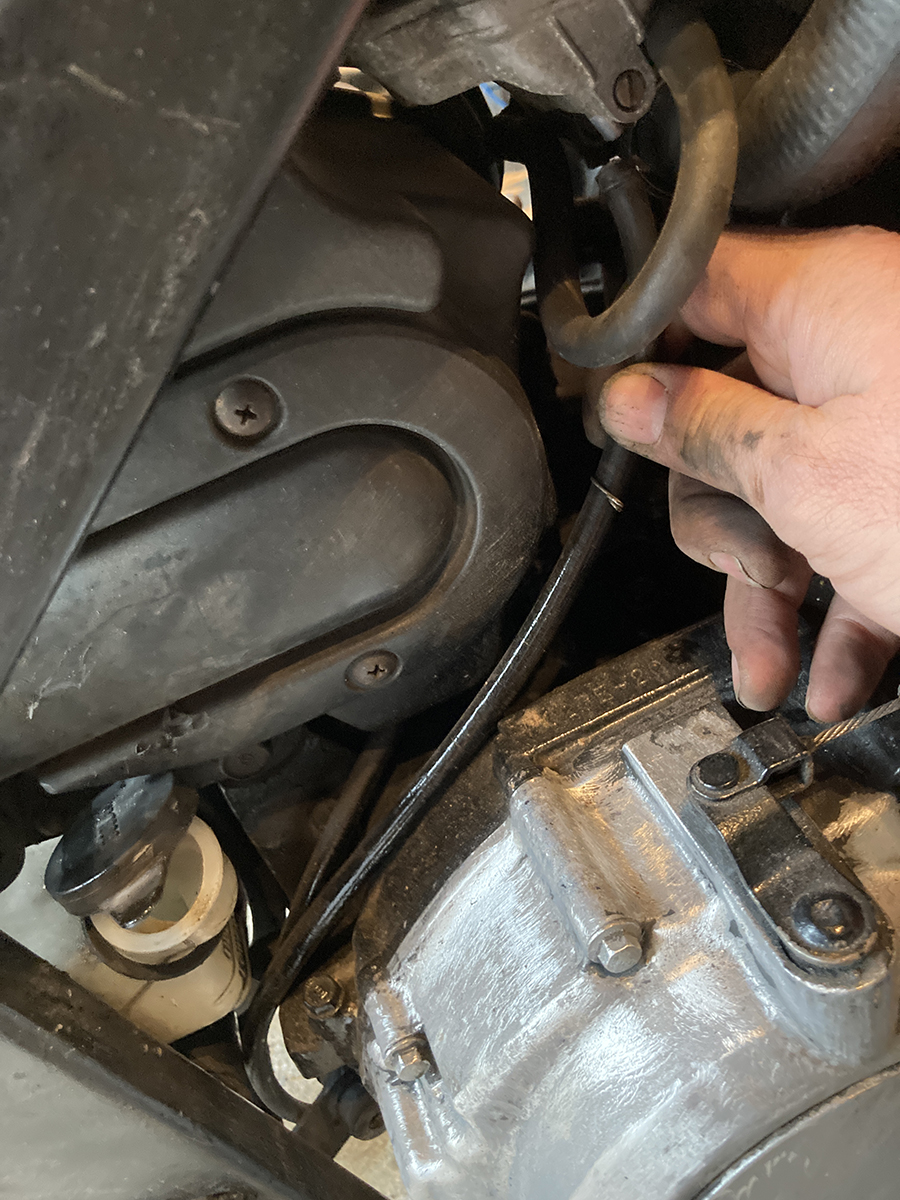
Before we can think about the carbs, we must first clear access to them. We need to disconnect the thermostat and remaining piping.
Both of these are pretty straight forward, remove pipe clips and pull off the items.

The only part that had me reaching for the help of the CB500 community was the sender wire! On bikes that are getting on in age things can sieze and get stuck and so when the Haynes Manual said "remove the sender wire" it didn't state whether to pull or unscrew the thing! A quick reply to my Facebook post confirmed it should just pull off.

The next thing to fox me was the sub air cleaner, mainly because I had no idea what it was.. it unclipped with ease though.

We are very nearly ready to get at the carbs now, just one last item first - the ignition coils. These step up the voltage to enable the spark and ignition and are located at the front of the frame and are a simple bolt off job.

And here they are...
We now have clear access to the carbs (woot!). First we need to remove the choke cable. Create some slack in the wire and unclip the end, it is just like the ends on bicycle v brakes etc.

Next, there are a few hoses to get out of the way, the 2 fuel overflow pipes that went into the engine (make sure you note how they were routed) and the thermostat overflow pipe.
You will find a drain screw at the bottom of the carbs which need a little turn to let out any spare fuel.
Now a few more hoses, the crank case breather hose, carb breather hose and carb heater hose.
Rusty, awkward and annoying
We really can get the carbs out now - hopefully! First loosen the clamps that attach the carbs to the engine block, mounting boots and air box. This is the first part of the breakdown where I have had to start a replacement parts list... pretty good going I reckon. :)
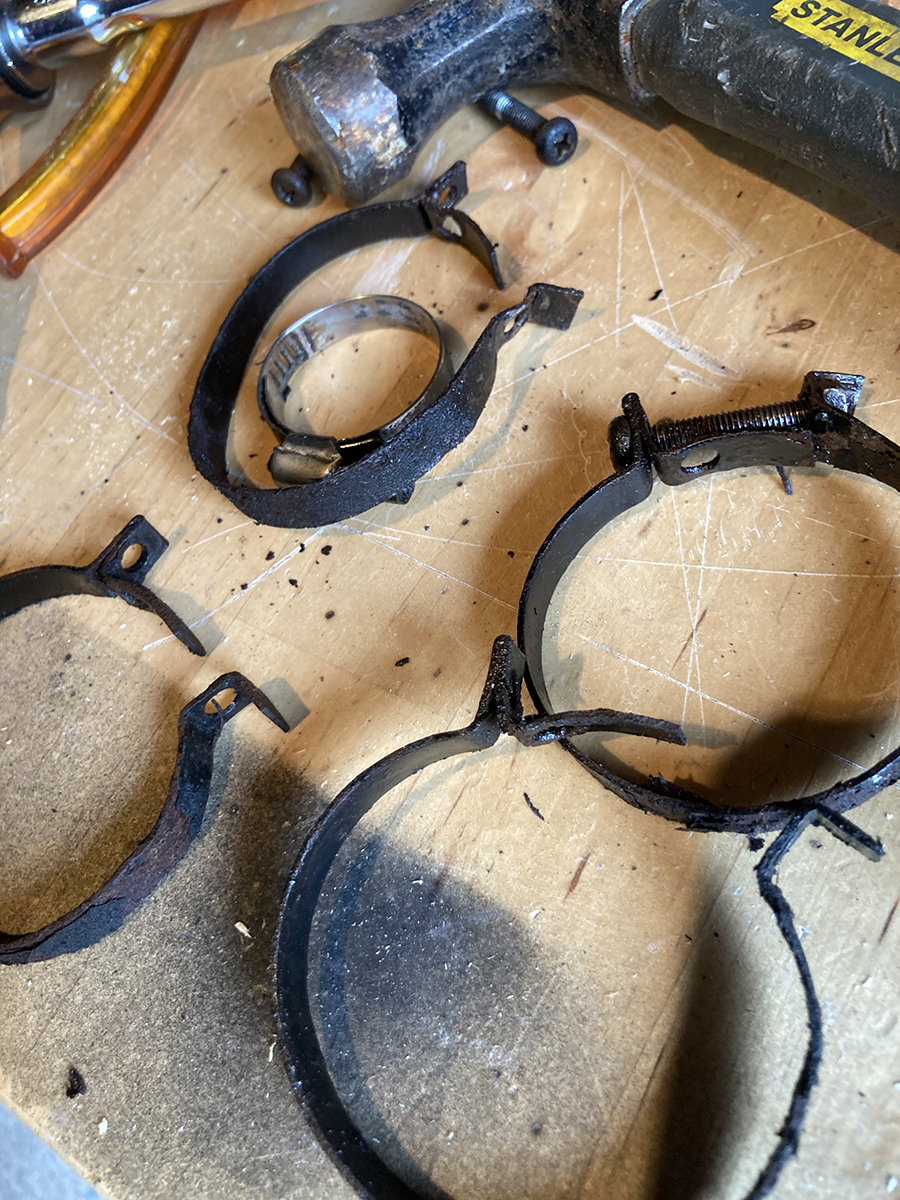
The bolts and screws for at least two of the clamps were really badly corroded, and one of the screws was rounded out. It took alot of patience ( and WD40) to remove most of them but eventually I had to bust out the Dremel.

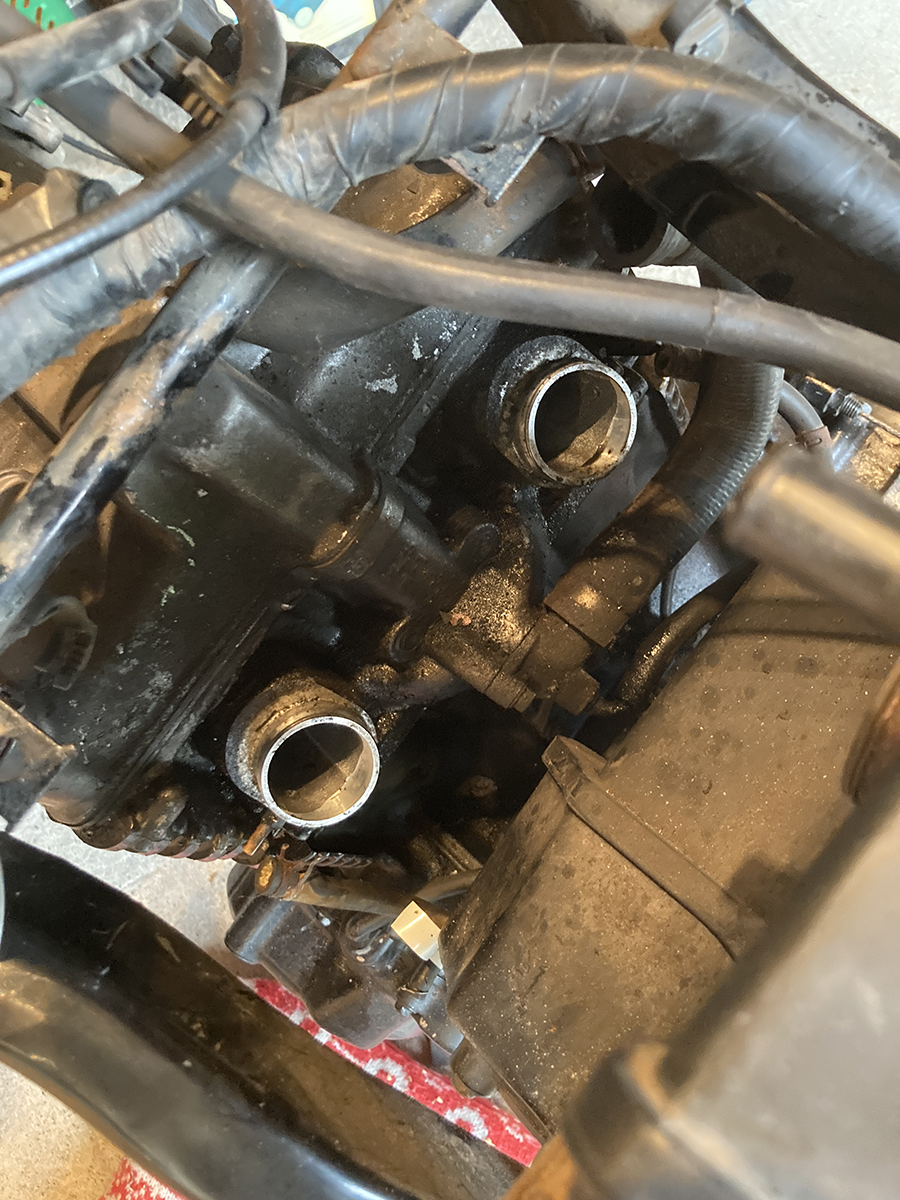
Finally all the clamps are off - but although there is some movement on the air box - the carbs remain solid... b-but the Haynes manual says just "lift them out whilst easing the airbox away"!
Back to Facebook to see if I am being foolish and this time I am just being too gentle. Brute force wins the day and with a yank the carbs are free from the engine.

Don't rejoice just yet, you still need to detach the throttle cables. Detach them from their housings and then at the cable stop between the carbs.


And with that - the carbs are on the bench!
As you can see there is valid reason for this break down - look how mucky the carbs are!!!
That was all pretty draining but now we are left with easier things to tackle, the footpegs, switchgear, speedo and handle bars and then we can start thinking about getting that engine out.
Next time... all those extra bits I hadn't thought about!...