CB500 Strip down - Part 1
General advice on breaking down the bike was to start at the top and work my way down.. sounds like a fairly sensible plan and so I started off with the really easy bits I had been taking on and off all summer for racing.
Seat, rear lights and electrics
The way I built the rear end means 2 M6 bolts release the seat, 4 more release the tail tidy including the brake light and indicators. I unplugged the indicator and brake light switches from the loom and set aside.
The next thing to do was to detach the regulator, computer and fuses which I had moved to under the seat.
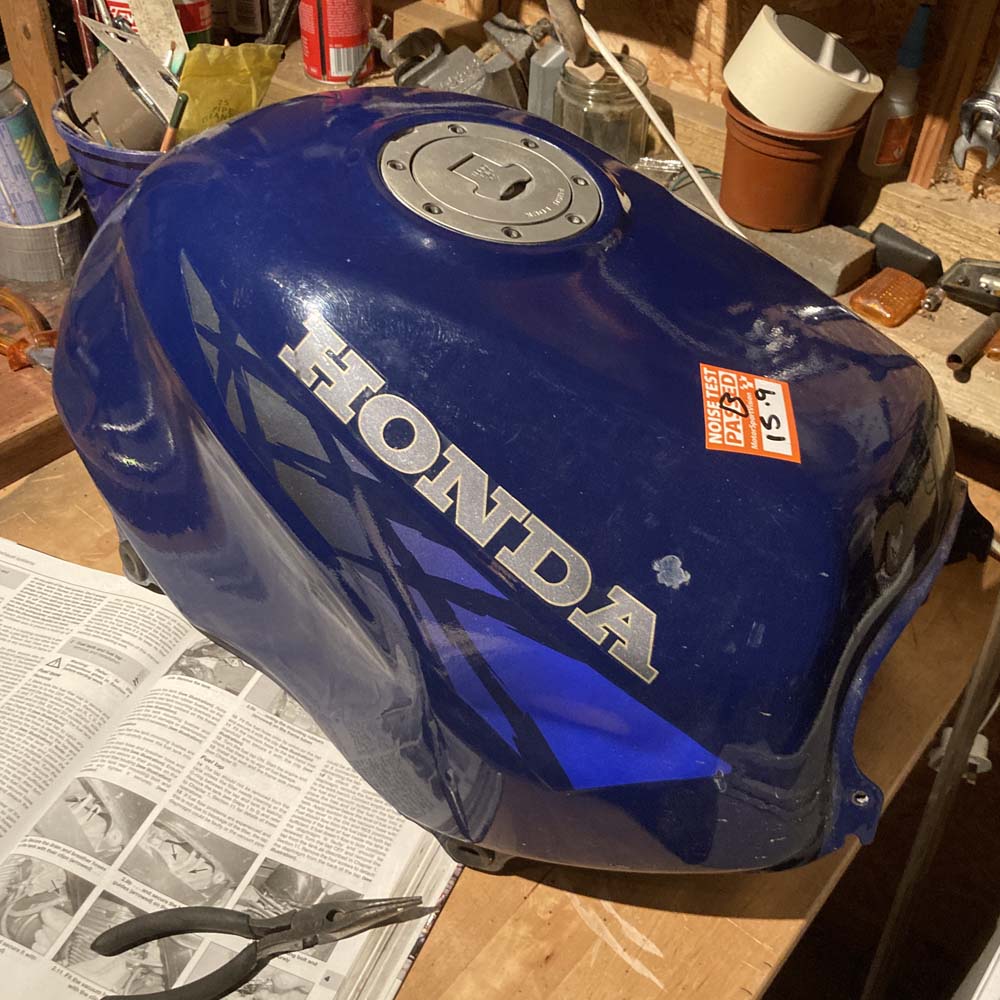
Petrol tank
I thought the petrol tank was going to be a pain and to be honest the only real issue was that I still had quite alot of petrol in it. There is only 1 bolt at the rear of the tank, just make sure the petrol switch is set to off(switch set pointing to 9 on a clock, 12 is reserve, 6 on)!
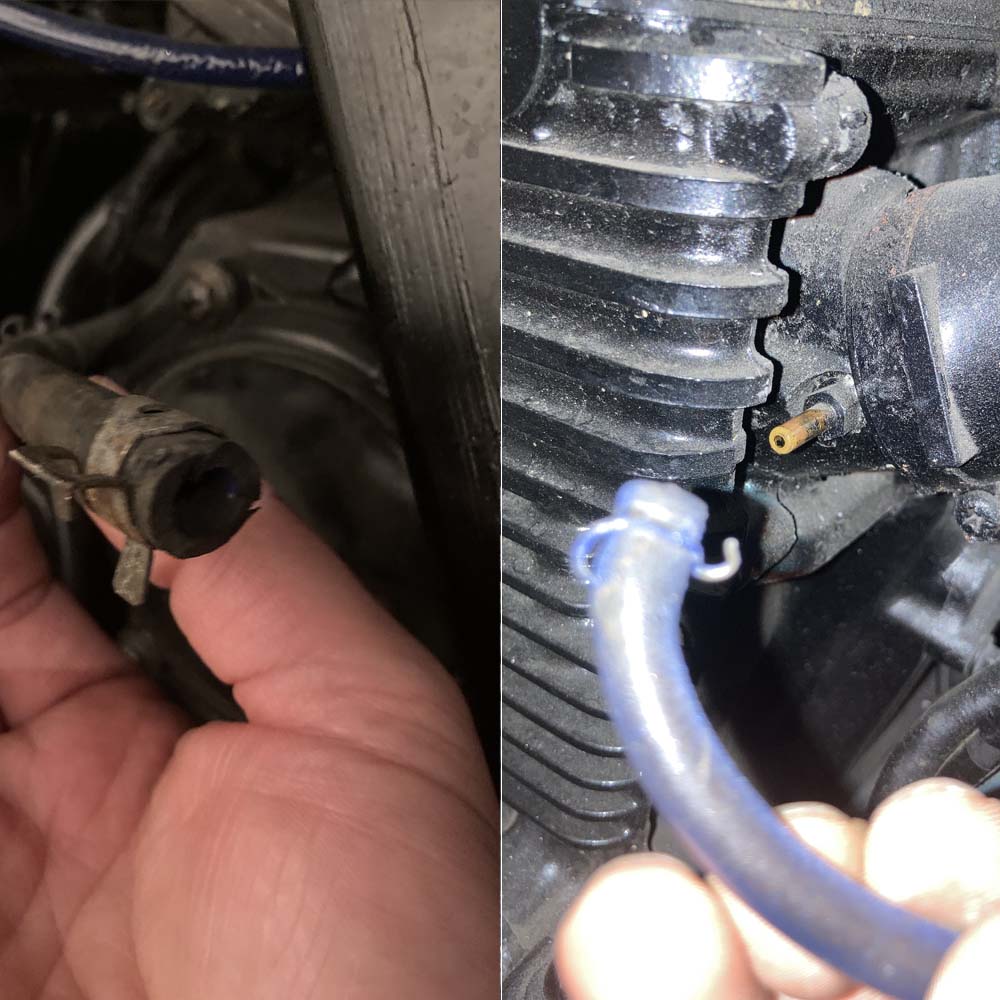
Next, remove the fuel line and the vacuum hose situated by the left manifold.
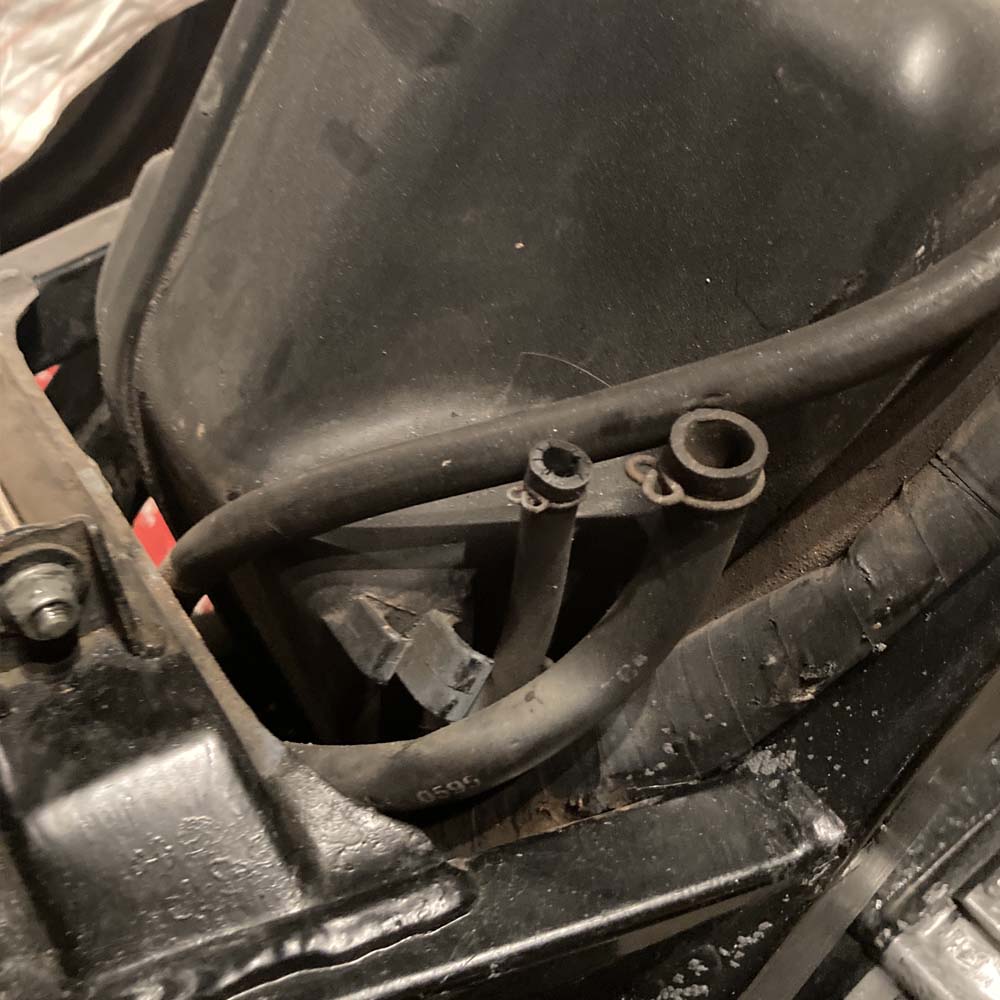
You can then lift the seat off, watch for 2 breather hoses at the rear-back underside, to the right of the bolt, pull these off and set the tank aside.
Drain vital fluids
Now the tank is off, things are getting real! We can see all the innards of the bike underneath and so it makes sense to get some fluids out of the bike and look at the radiator, this will make removiung the header pipes easier later.
I decided to flush the coolant system, even though I will likely replace the hoses I wanted to flush the radiator itself.
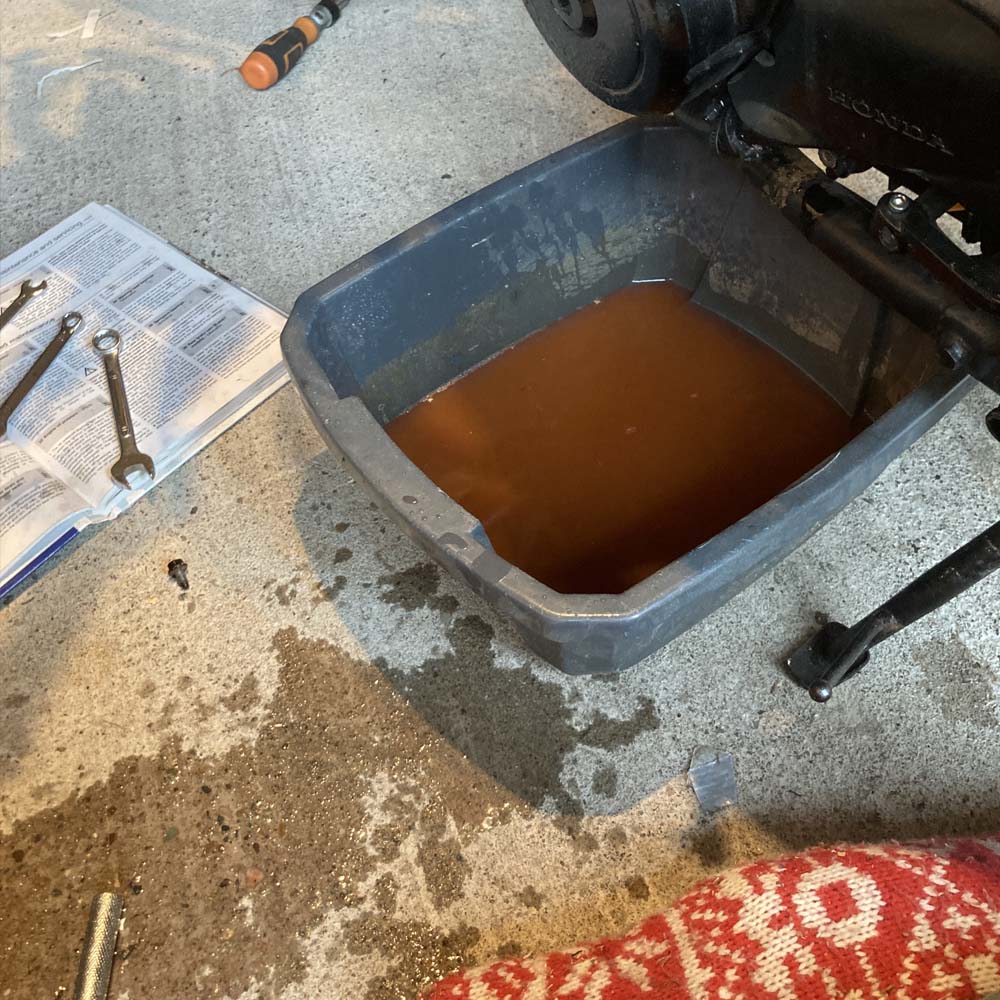
To drain the coolant, get a washing up bown or similar to the side of the bike (left side). Open the radiator cap and then remove the coolant drain bolt situated down near the gear selector.
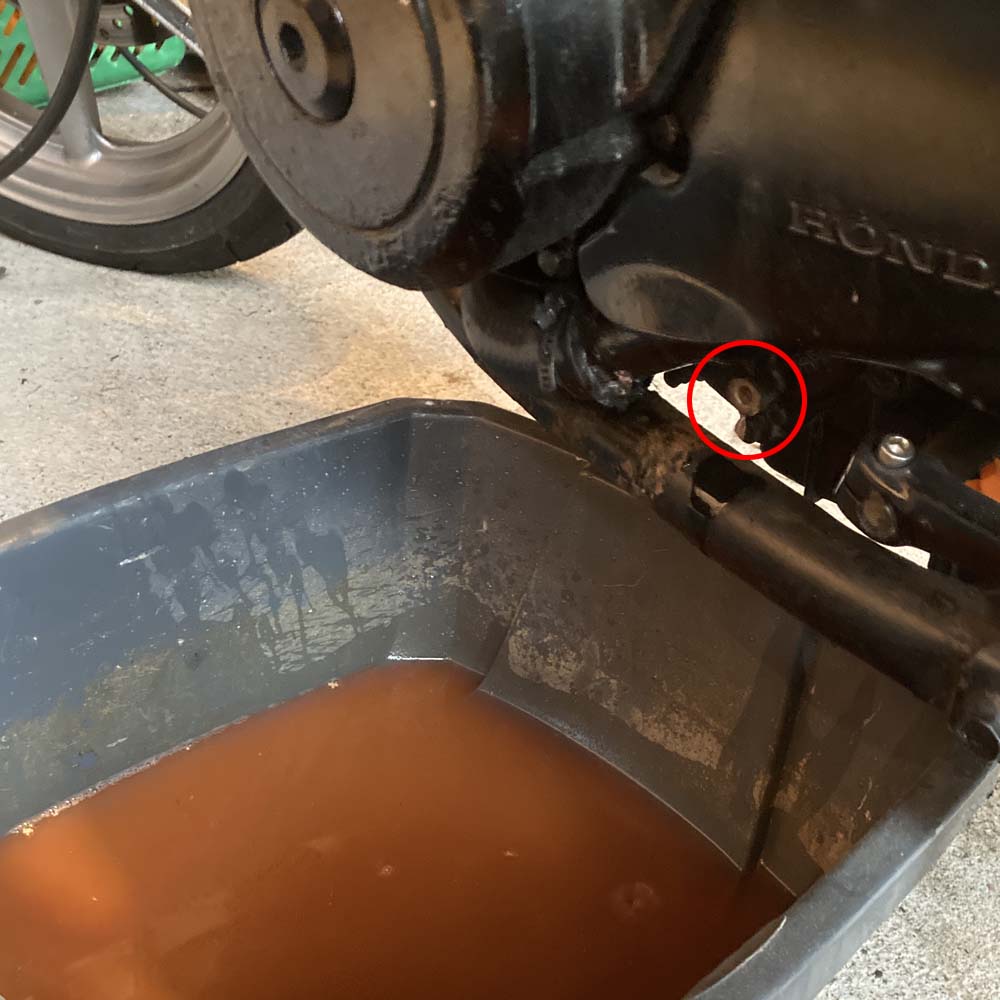
Hopefully you placed your bowl better than me as I flooded the shed floor not expecting it to come out with such force!
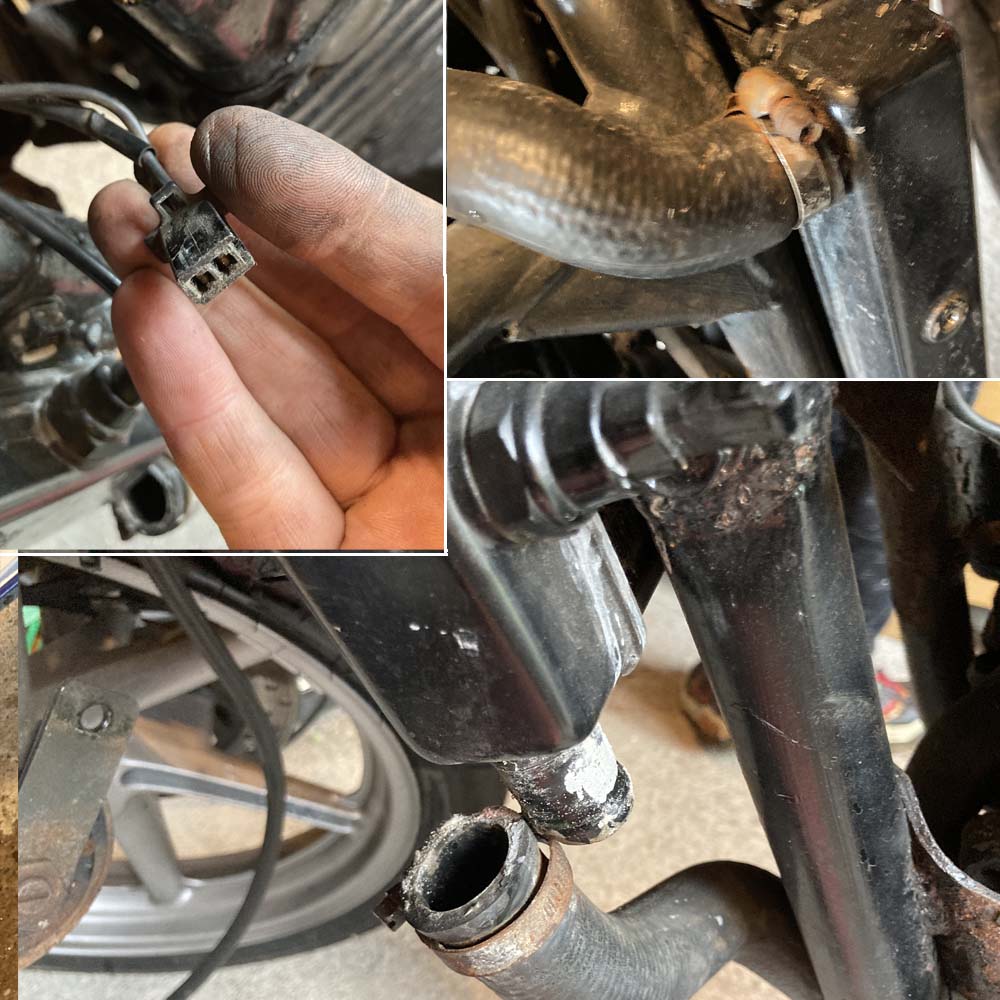
There is also an overlfow container situated infront of the back wheel, again find a suitable container to catch the fluid and then open the overflow and unclip the hose attached to it and let it drain.
I then just ran water through the system until it was running clear. I will keep the radiator and use some aftermarket hoses.
Drop the oil
The oil is super straight forward, just have the bike on the sidestand and open the dip stick to allow airflow and take off the sump plug (located back left of the sump). Go and make a brew and let the oil empty totally.
Remember to do the same at the front of the bike with the oil filter (between the headers).
Radiator
Back to the radiator.. now that the coolant is out it is just a case of detaching the pipes connecting it - top right and bottom left. Once these are dissconnected you can undo the lower mounting bolts (a torx bit), rotate the radiator out and then remove the top bolts. The fan attached to the radiator has a switch joining it to the main loom - pull that out so the fan can come off with the radiator. You should then be able to lift the radiator and fan off together - easy!
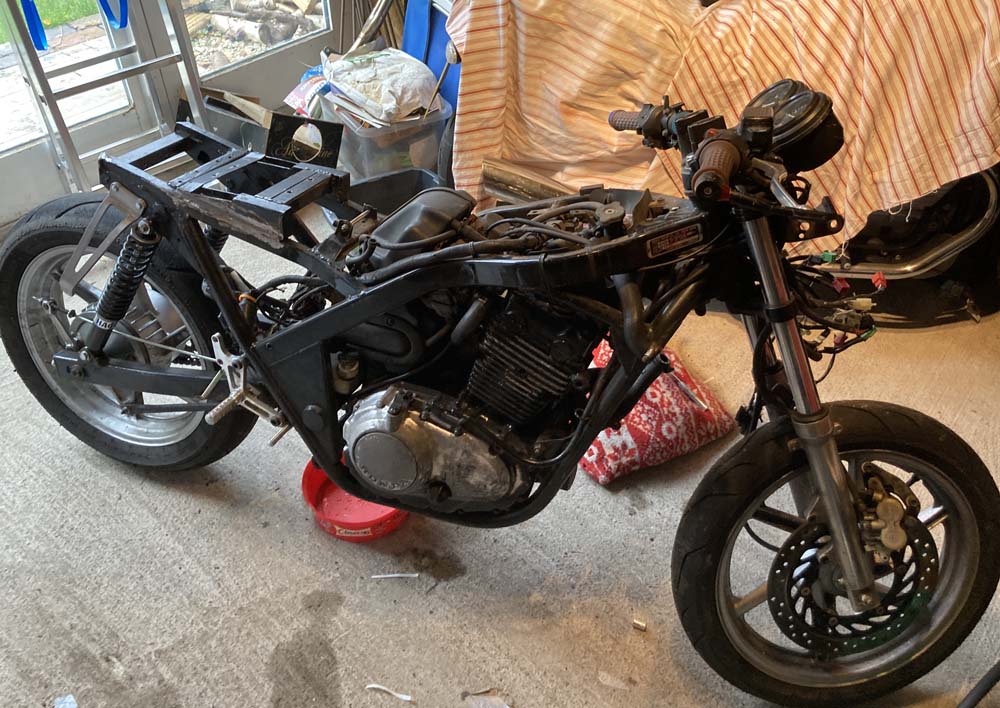
With the bike rapidly looking more like a work in progress than a bike we can move on to some easier exteranl items... let's get the exhaust off!
This is a simple one - but be careful with your header bolts. Mine have 2 that the peg screws out with the bolt.. I can make it work but a snapped bolt will really stop you at this point.
Support the exhaust and loosen off the header bolts - I use a 10mm spanner on the outside ones and a socket with an extension on the inners. Be REALLY gentle and use WD40 or penetrating fluid if they are seized.
With them off you can then take off the bracket bolts for the exhaust hanger and lift off the exhaust in one. Depending ion your exhaust you may want to remove the muffler first - I have race headers that go straight through in one.
As a final easy item for stage 1 let's remove the headlight/indicators and expose the main part of the wiring loom.
Lights camera - and a big pile of wires!
Thead headlight is but 2 bolts and 3 screws away from you. Go easy on the screws as they are like cheese, and disconnect the light from the wiring loom. You will see the headlight actually contains nearly all the wiring - a pretty neat solution in my opinion!
Well that was a busy time.. progress is good so let's move on to something else after a little break and some more studying of the trusty Haynes manual.
Next time... the worst job - carbs and airbox...