The Big Proper Strip Down!
Well well well - I realise now I started this project 2 years ago nearly to the day - and what fun it has been! I have learned to weld (ish) and improved my mech skills in year 1 and year 2 used the bike on track days and got it through another MOT. So now it is time for the big proper tear down.
This was always the plan
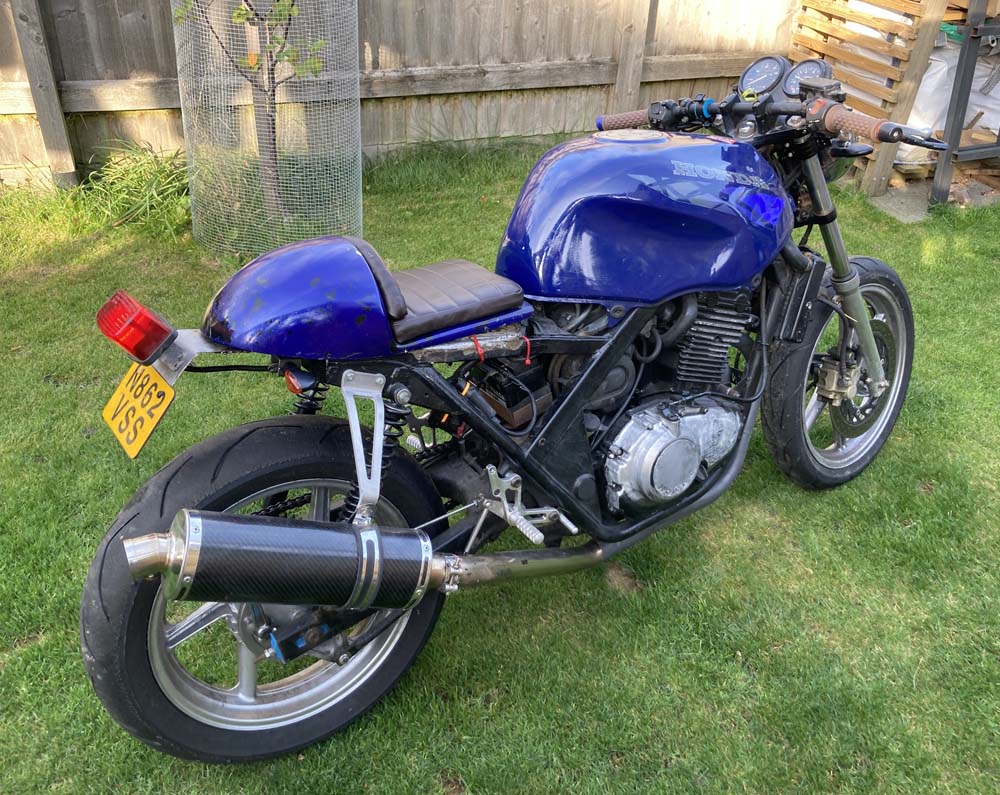
I had always intended to really get stuck into this bike. That was the idea, a cheap simple motorcycle that if I destroyed in the process wouldn't be a loss. Thing is I have really grown to love the little CB and the community online, the Thundersport racing class means there are loads of really helpful skillfull "pig" fans. :)
Having so much fun on the track days meant keeping the bike in a rideable state - but now that the weather has turned and the track seasons winds up there is 6 months of darkness and rain to spend locked in a shed.
I had hoped to get the bike dyno tested before starting the big breakdown but, as has been with a couple of other things on the bike it couldn't be done as it turned out it had a split link chain. Bikes over 30bhp shouldn't have one and as such it couldn't go on the dyno.
Fail to prepare - prepare to fail
I am a bit scared about the process of reduciung the bike to a pile of bits and a frame... there is a real fear I won't be able to re build it but there is only one way to find out so a weekend was spent tidying the shed and making sure I had tools to hand and space to move.
Aswell as the Haynes manual that has become quite dog-eared and oil stained over the last 24 months I picked up a label maker. It is crucial that you document/label everything you take off if you are new (like me) to this. The last thing you want is coming back to re build and forgetting what goes where!
Over the least 3 days I managed to take the bike down to just the engine on my desk, the frame and a big box 'o' bits. Whilst doing so I have photographed and noted down the order with the hope I can just do the process in reverse to re build. As such I am going to detail this in 2 or 3 posts incase it is useful to anyone else mucking around with a cb500.

Next post... Removing the tank, drain the fluids, remove the radiator and the exhaust.