The Strip Down
I won't lie, usually I run into things with way too much eagerness and don't take time to consider my actions. In this case I decided to wait for a Haynes Manual to arrive before I started using a screwdriver or wrench in anger. :)
A little by little
Thanks to Amazon Prime I didn't have to wait too long and before long I was sitting in my partially cleared shed with a coffee, manual and some tools to hand.
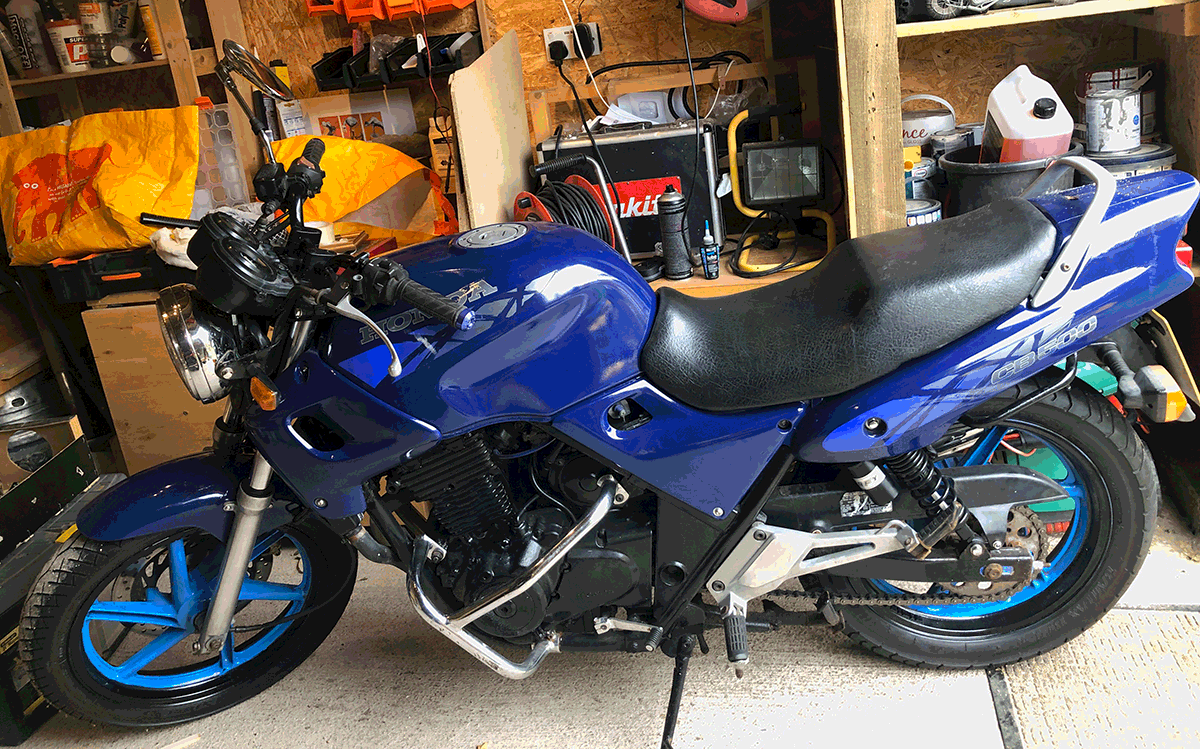
It turns out it is quite easy to remove the main panels and mudguards. The seat and inner plastic lining however was a bit more of a challenge but I got there in the end.
After much thinking I decided to break my mod down into specific stages so am not stripping the full bike down initially.
Phase one is going to be chopping the rear end, installing the cafe seat and then re instating the rear lights/number plate with the current wiring loom.
This means the bike will then be ridable whilst I plan the next stage.
After the cafe seat I will add rear sets to get a better foot position, following that I will look at the current handlebars and replace with clip ons before finally replacing the exhaust with something a little more stubby.
The aim is to have a bike mostly done by next winter so I can strip it totally and then think about a respray or any other improvements.
So with that in mind the next job was getting physical with the bike...
Next post... Bring out the Angle Grinder.