Commit to it... the first proper part of the rebuild
I won't lie, I was getting bored of just welding random bits and bobs so I decided there was no time like the present to commit to the plan and actually do something proper.
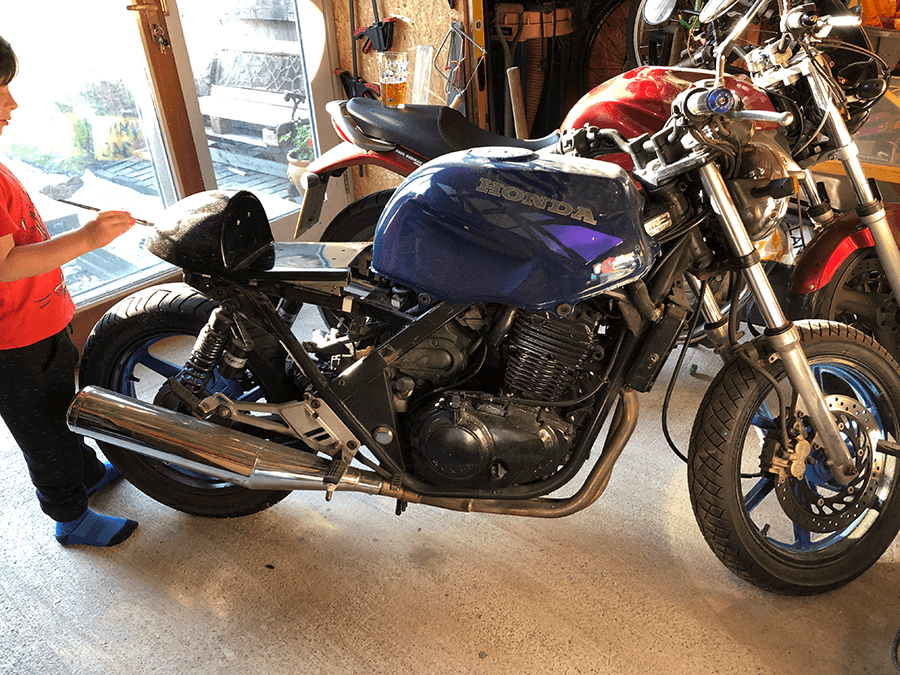
Building the hoop
As the rear frame had been cut down I needed to add a rear hoop for the new seat and also to mount the brake light, indicators and huge number plate.
Having studied the GRP seat I decided just to start by putting a cross piece of box section in at the end of the frame.
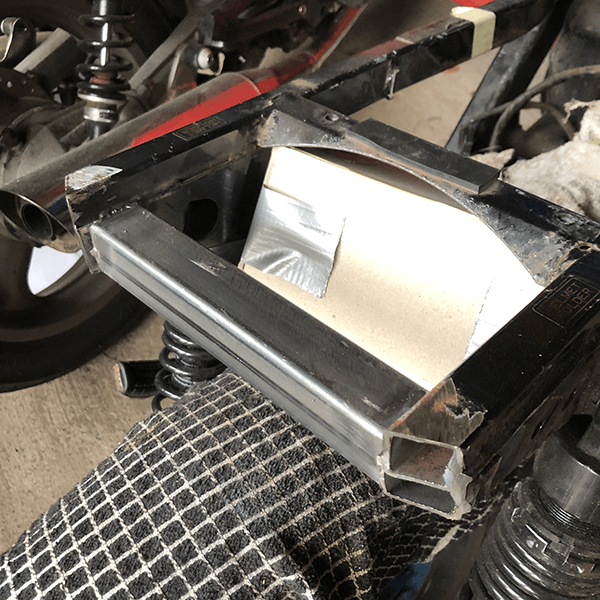
Taking things very gently I tacked it all in place after spending quite a while trying to cut the box section straight using only the angle grinder. After a few attempts I realised it is much more accurate to cut each of the 4 sides rather than cut through the section like you would saw a piece of wood. I am sure that is lesson 1 of fabrication if you were actually taught but I got there eventually!
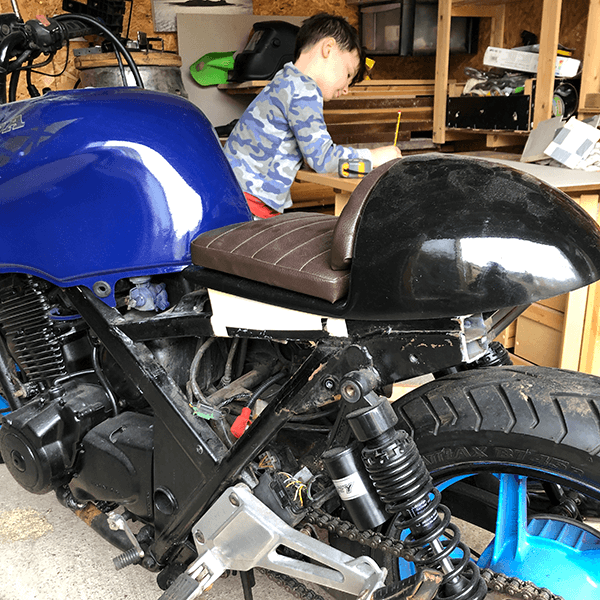
Straighten the seat
With the brace in place I offered up the seat and quickly noted that because the frame has a natural angle the seat needed to have a wedge to sit on so that it would remain fairly level. I debated just going with the angle but it just looked a bit weird and so I set to work trying to mock up some sort of wedge.
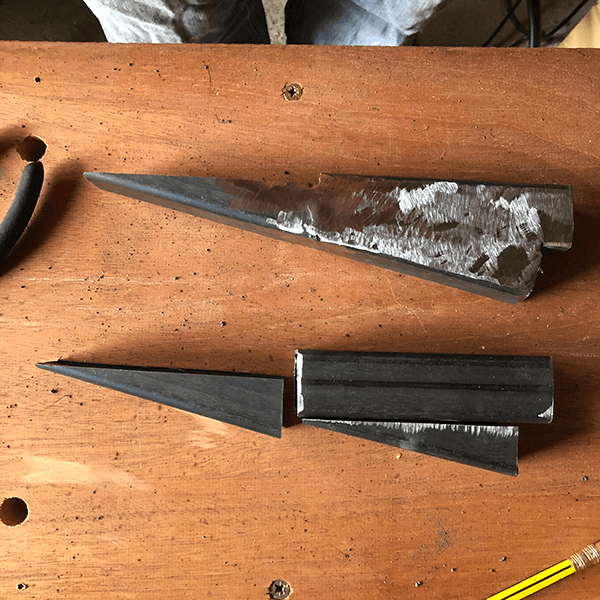
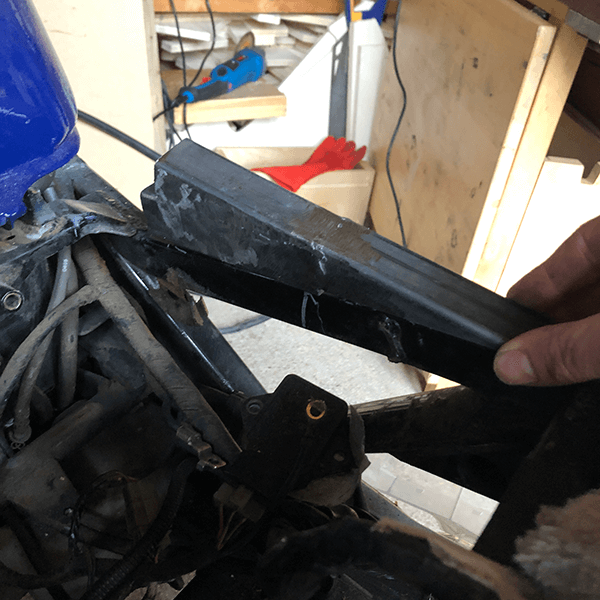
I decided to use the box section to build 2 triangles which I could then weld to the frame, surprisingly this worked pretty well.
At this point I needed to have a think as to what to do next.. it was happening organically which probably isn't the best plan but the whole idea of this project was to learn, and to learn sometimes you have to fail and try again.
Time on my hands
After a bit of back and forth and several cups of tea it dawned on me that the battery would need to fit under the seat. Although I had an idea of using a Lithium Ion battery and mounting it in the cowl I was also aware that the MOT would come round quickly so decided to try and use the existing battery and indicators/lights for this initial build.
As the Pandemic was taking hold work had slowed down alot and so I spent time in the shed over the coming days trying to work out how to continue with thye build. There was something about this project that started to give me something to cling on to. The shed had not changed and the focus required to learn new things meant I could escape - mentally at least.

I welded the two triangles to form a weird kind of H and added a strip of 2mm sheet so I could mount the actual seat later.
Next Steps
It felt like a real mountain climbed to have fabricated the frame, now it was time to think about how to fit the cowel and seat and then move onto the lights.