CB500 Engine prep
With the engine sitting on my work bench I could get a decent look at it and work out what was possible... first thing though was to get some of the gunk and muck off it.
That's not my engine!
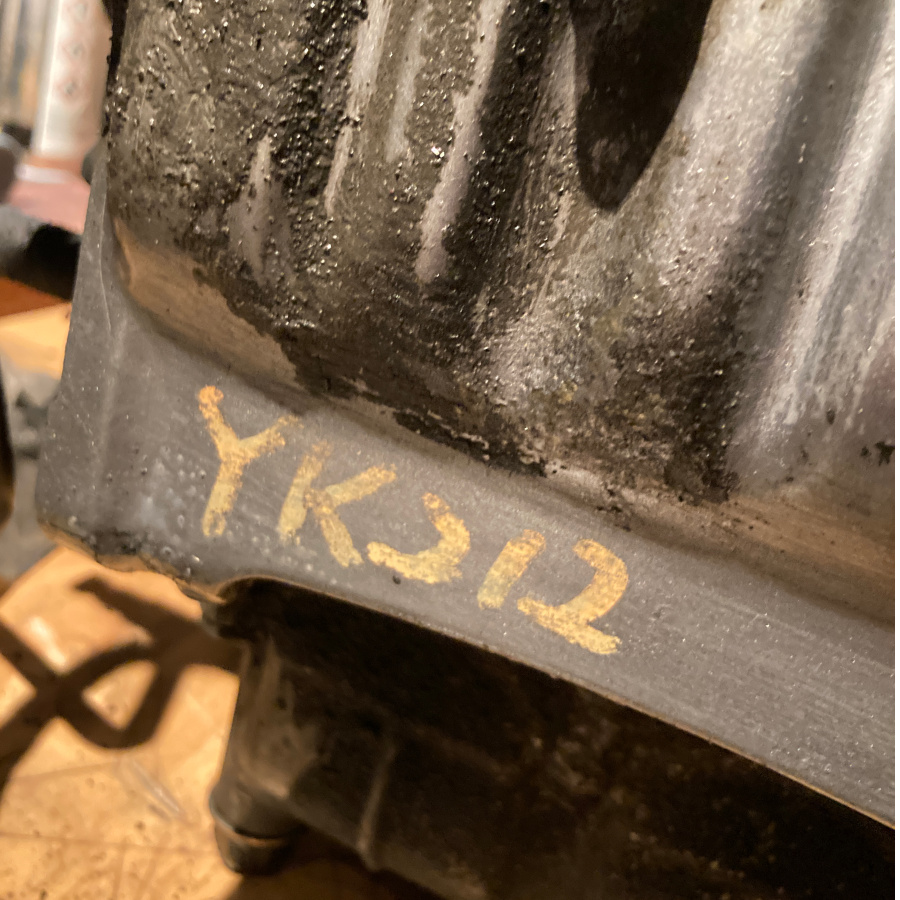
As I started to peel back the layers of grime on the engine, it was clear that the covers might work as bare metal but the engine block itself would need a coat of paint. In cleaning things up though I saw the tell tale sign of a breakers yard pen. Seems this bike has had a replacement engine at some point.
Slowly things improve
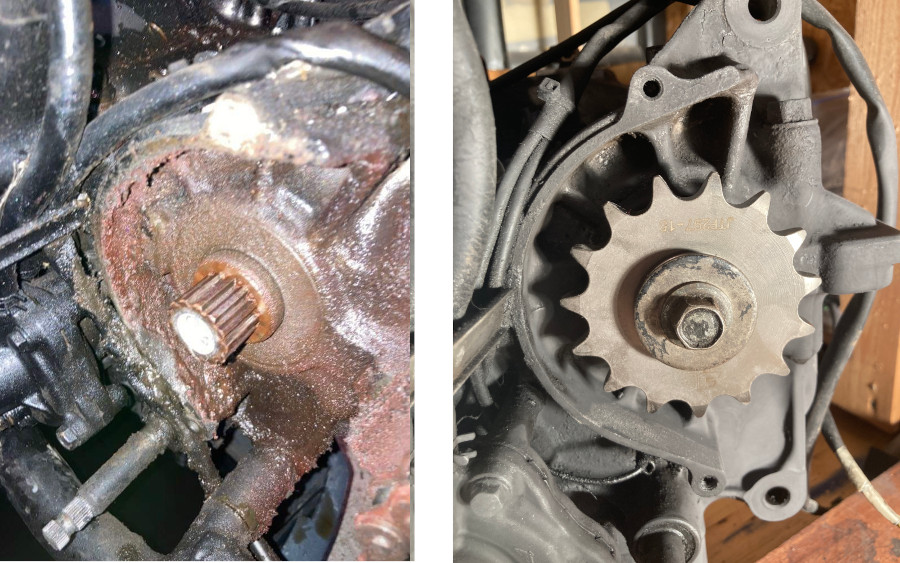
Things really were pretty grim, the front sprocket especially so! Some elbow grease, degreaser and a new shiny sprocket improved things no end!
Some paint and some polish
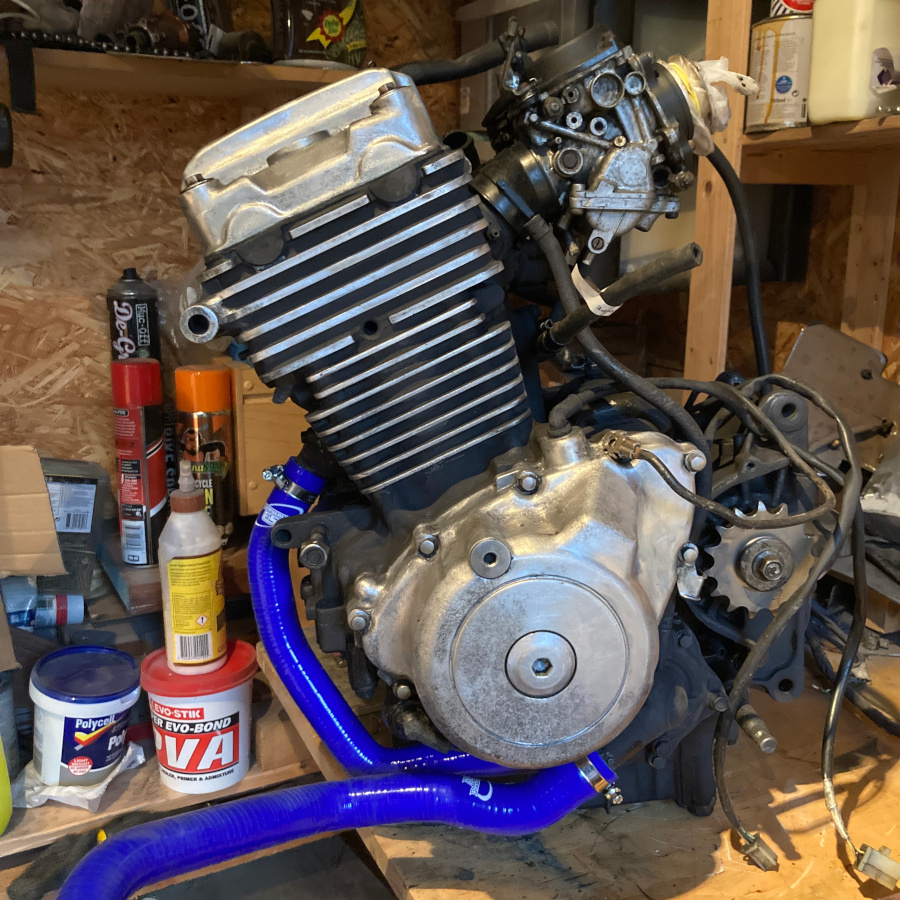
After what seems like days of work, the engine is now in a state where you can pick it up without having to wash your hands or t-shirt afterwards. That said it is bloody heavy! I used high temp matt black paint on the engine block and have left the covers as bare metal. I decided to keep the fins black inside but bare metal on their edges which I think looks ace.
How far should I go
My neighbour and also my Dad have been pushning for me to really dig into the internals whilst the engine is out of the bike and I was reluctant to at first as I am eager to get the bike running again, they persisted and I relented and so decided to replace the carbs and check the valve clearances before starting the rebuild. I am also adding new pipes to replace all the old ones - the engine is starting to look pretty tidy actually.
Feeler guage and a need for shims
I finally plucked up the courage to open the rocker cover, thankfully the bolts all loosened ok and after borrowing some feeler guages it looks like I will need to re shim the valves. This is ok though - it is what I wanted to learn/bought the bike for in the first place!
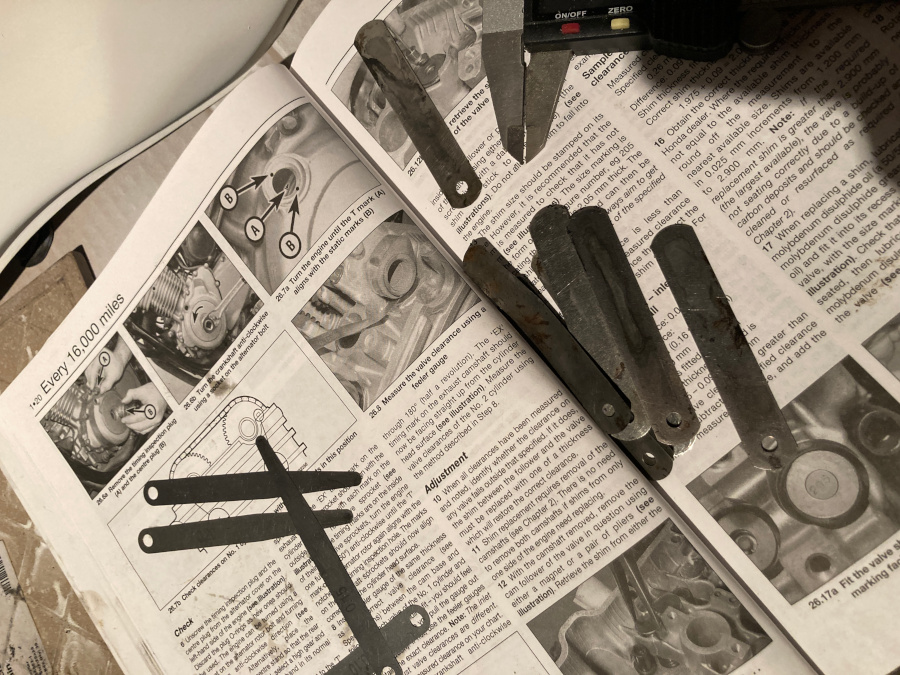
Measuriung the valve clearances involved rotating the engine to align certain marks (a T on the inpection hole and an IN and EX on the cam cogs) before measurung the gaps between the valves and the cams. On a CB500 it should be between 0.15 and 0.17mm for the inlet and 0.25 and 0.27mm on the exit.
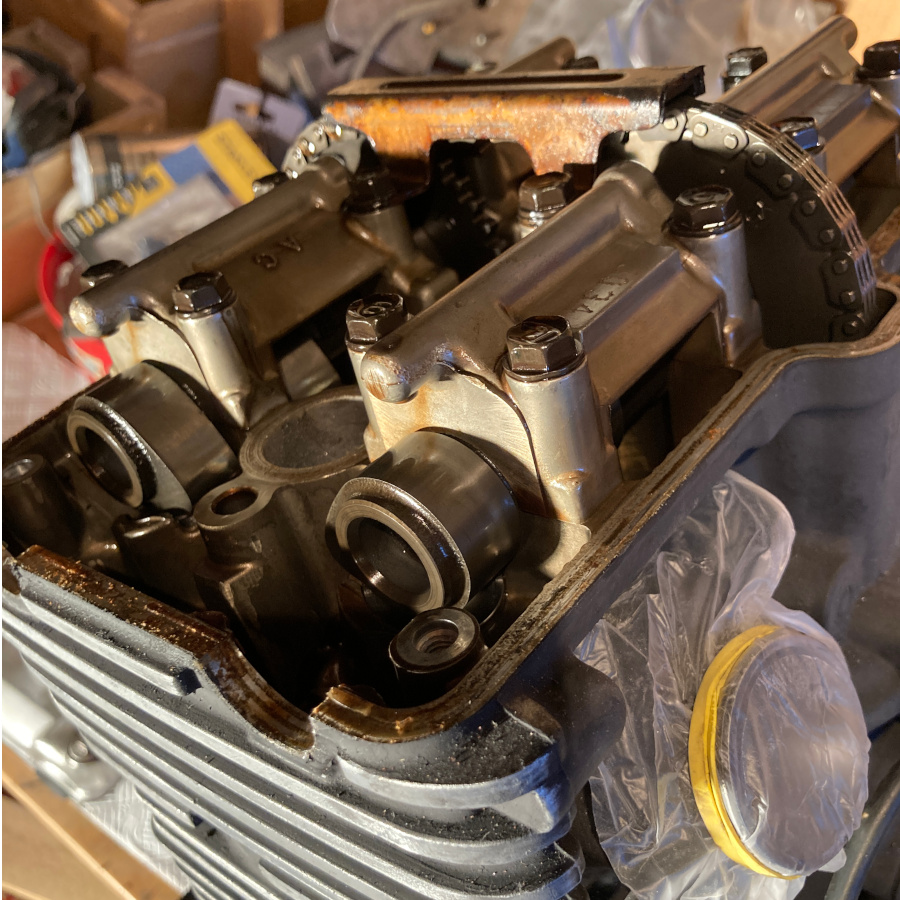
Annoyingly mine see to be about 0.10mm inlet and 0.15 exit so I have ordered a full feeler guage set so I can get an accurate measurement on each of the 8 valves and then order new shims. This does mean I will need to remove the cams and valve followers which is both daunting and exiting!
Next time... my walnut of a petrol tank gets beaten into shape...